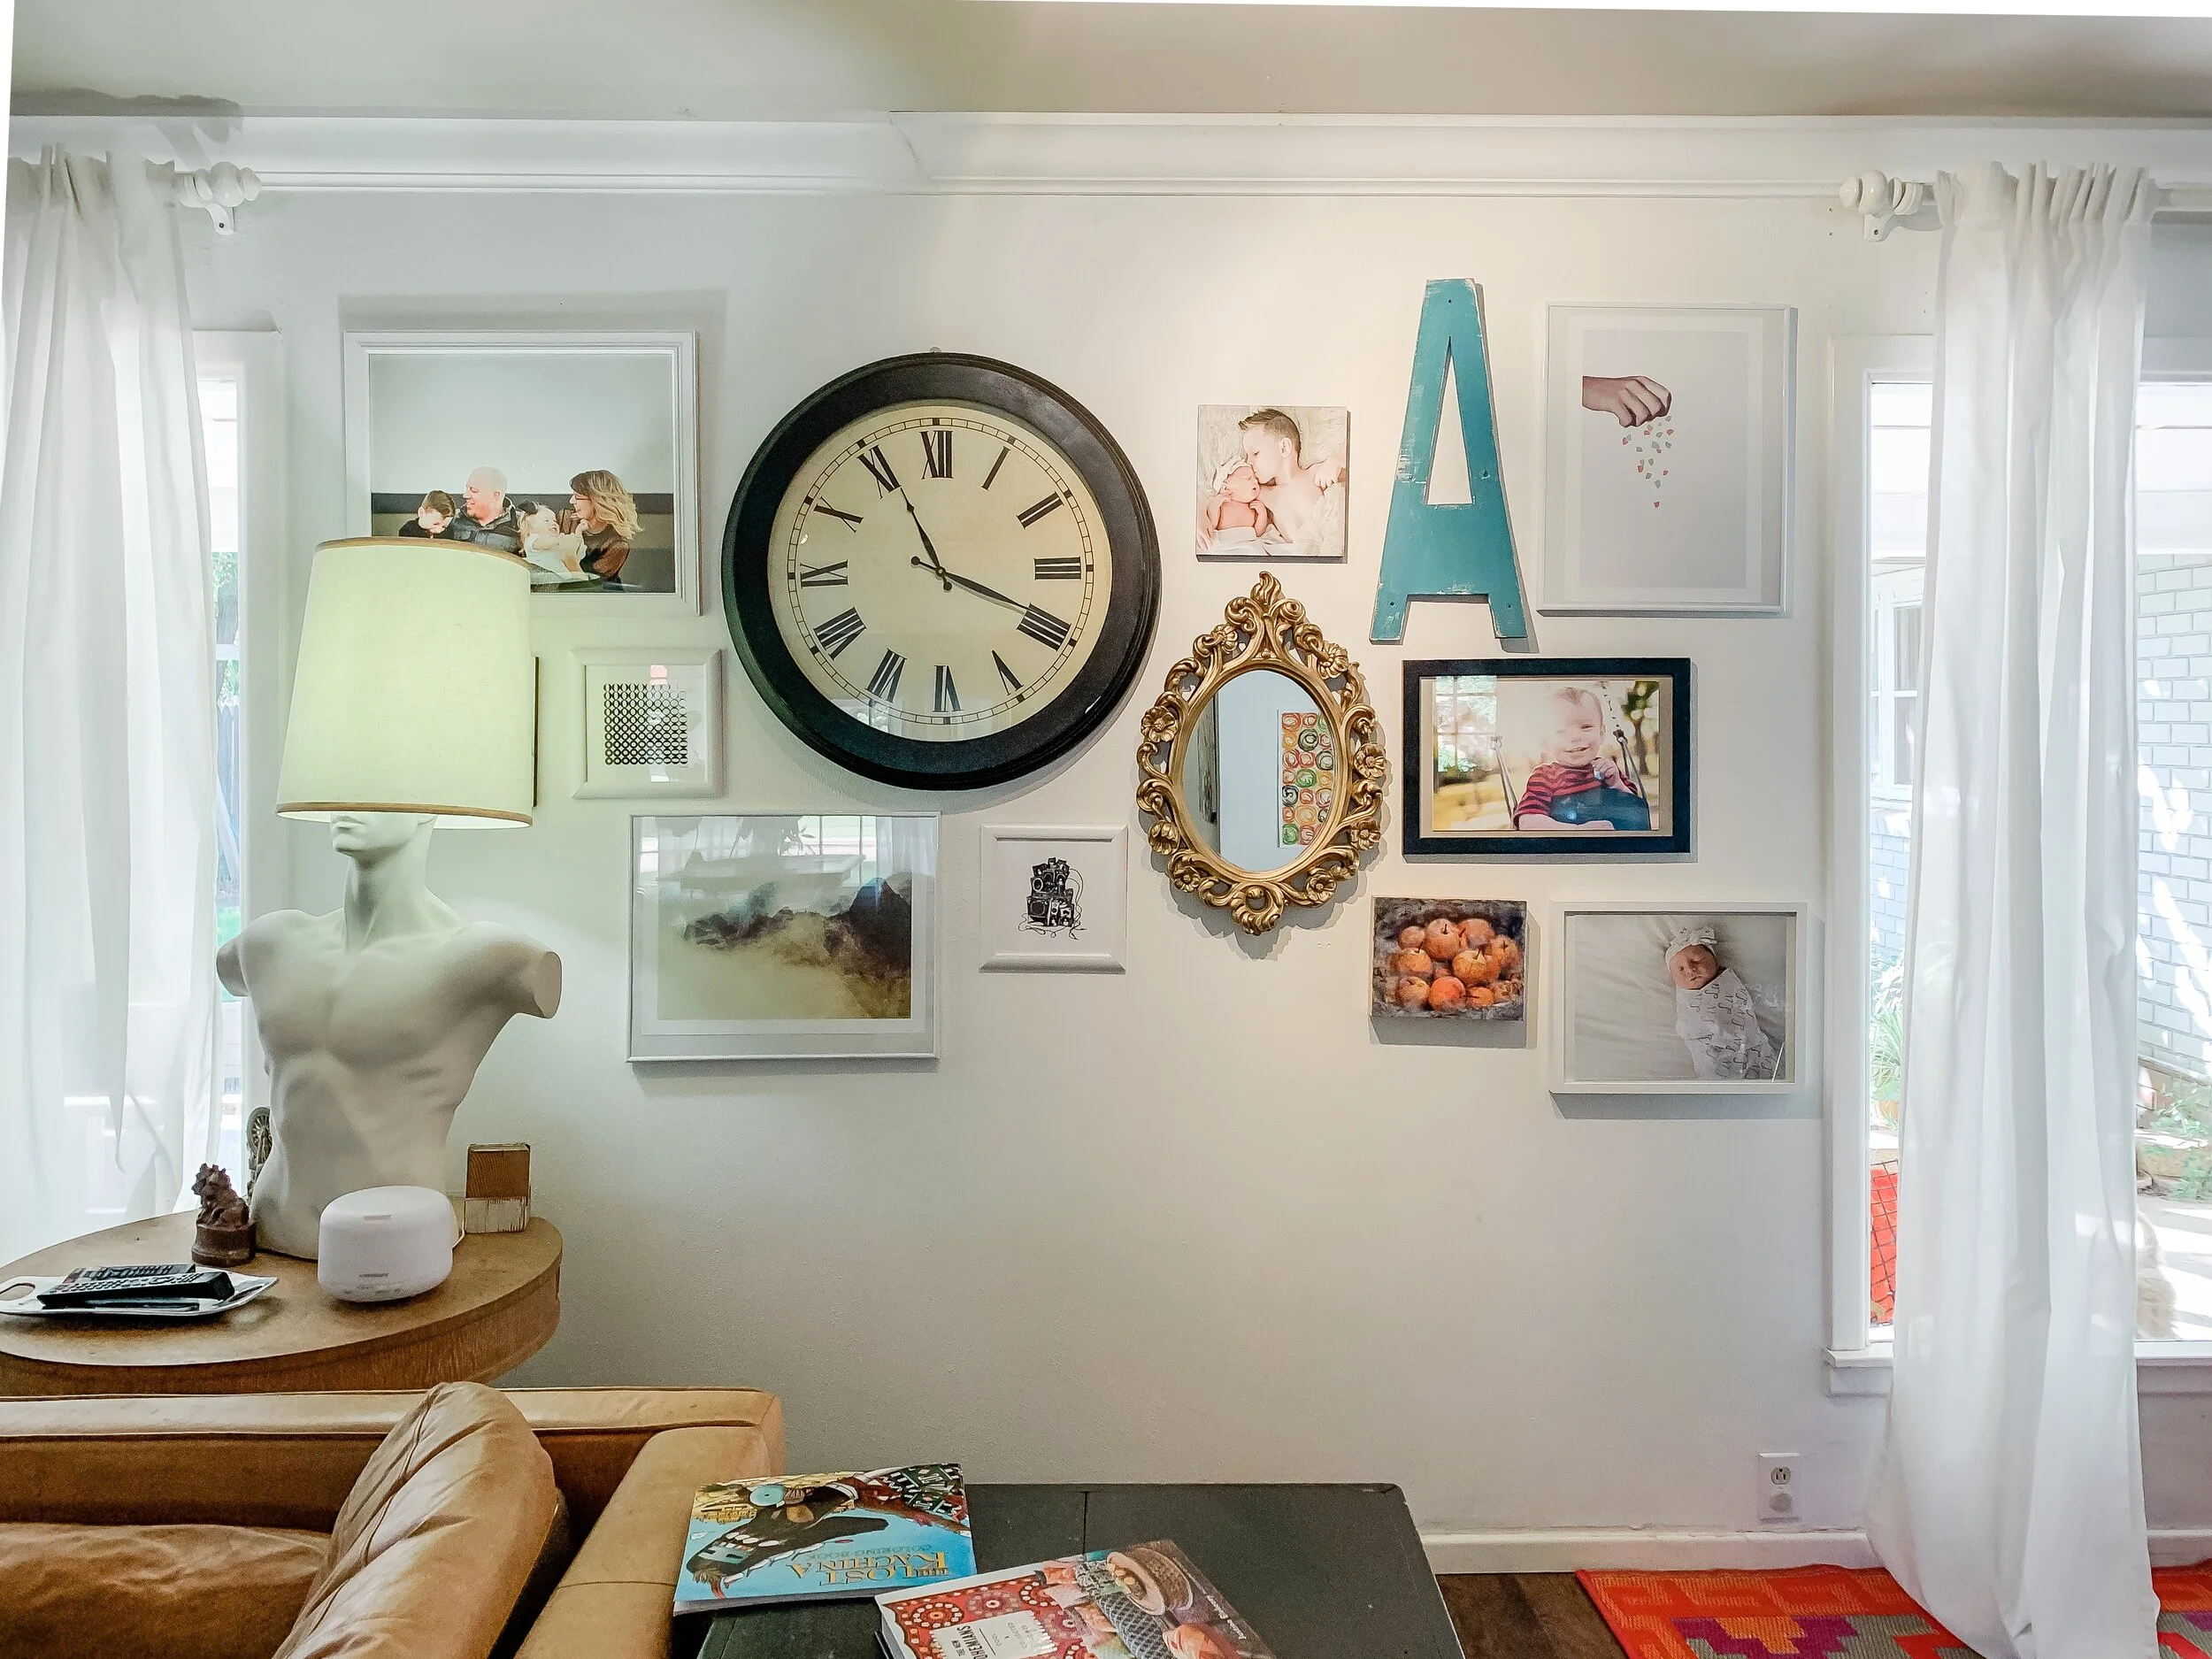

I sure hope you, my lovely blog readers, are prepared for LOTS of house posts from here on out! Truthfully, I love a good before and after and really want to document the renovation process well- and this little space is the best place to do it!
This is our 3rd home to purchase, and though it happened pretty quickly, we had been pondering it for a while. I have always been an old-home lover, and preferred fixing up an existing home rather than building a new one. There is something really special about the unique nooks and crannies, creaky old floors, and history of an old home to me. So for several years, Shawn and I have been talking about buying an older home to buy and make ours- keeping consideration for the original features and personality of the home while adding in some modern conveniences.
We absolutely loved our old home (photos in my last post), but we’d reached the point where we were hesitant to make any more improvements to the home, lest we over-invest in the property and not be able to get our money back when we sold. So, we had our eyes on a few different neighborhoods in our city- ones where we believed we would be able to invest a good chunk of change into a home and still see a return.
Thankfully, one of our best friends is a realtor (and a killer one at that! If you need one in the Lubbock area- Jim Archer is your guy!), and was very patient with us as we would randomly text him Zillow listings, asking for his thoughts on a property- yes, we were THOSE people, haha. After a while, Shawn and I decided we needed to quit our Zillow hobby and just be content.
Sure enough, one Saturday a couple of months ago, Jim called us and said he had found a house that might work for us. We’d already seen the listing, and weren’t super excited about it, but we went to see it anyway because it is in one of our favorite neighborhoods. Seeing it in person didn’t help our attitudes about it. It was sort of hodge-podge, as many homes in this neighborhood are, and had been renovated maybe 2 or 3 times already- none of which was in our taste.
So, we pulled out of the driveway with kind of a “bye, Felicia!” attitude, and then turned the corner to see the perfect view of one of our favorite parks- literally a block away. And then the more I thought about it, the more I was able to have a vision for what we would do to make it ours- to pull it together to feel cohesive and cozy.
The location is one of the biggest perks- as well as the fact that we are getting an additional living space, another bathroom, and 4th bedroom. The square footage is still about the same as our old home, but the backyard is nice and large with big trees.
But I knew I’d want to do some big-time renovations. Like, an entirely new kitchen type big. And completely redoing all the bathrooms, plus at least one other project in each room. So the numbers had to work. Shawn and I had already decided that the proceeds from our 2nd home needed to cover all the down payment/purchasing expenses of our new home PLUS the entire renovation budget, which is a lot to ask. We ran lots of numbers and several different scenarios. Jim was super helpful with this and it was really nice to have an outside opinion that understood our overall goals in purchasing this home.
We put in an offer. They countered. We countered again, and they accepted. And suddenly, we were buying a home!
Our main goals for this house are:
Make a great investment. Don’t over-invest in the property- be smart with our renovations and improve it so that we are able to sell it (if we want to) for a profit.
Make a great home for our family. So much of this purchase was about the neighborhood. We are SO excited to be close to 2 parks and a coffee shop, plus a lot of other families with kids the same age.
Create a welcoming space for others. We believe that this never would have worked out had God not gone before us in it- and want our home to be a place where people feel God’s presence.
Create functional workspaces for both Shawn and I. Since we both office from home, this is also a priority and boy have we realized that during quarantine! Ha!
We chose to go ahead and start with the kitchen and flooring renovations first, move in with my parents for a few months, and put all of our stuff in a storage unit. We had been warned that living through a kitchen reno isn’t for the faint of heart- and because we had the option of staying with my parents, we took that opportunity quickly! So thankful they are willing to put up with 5 more people in their home.
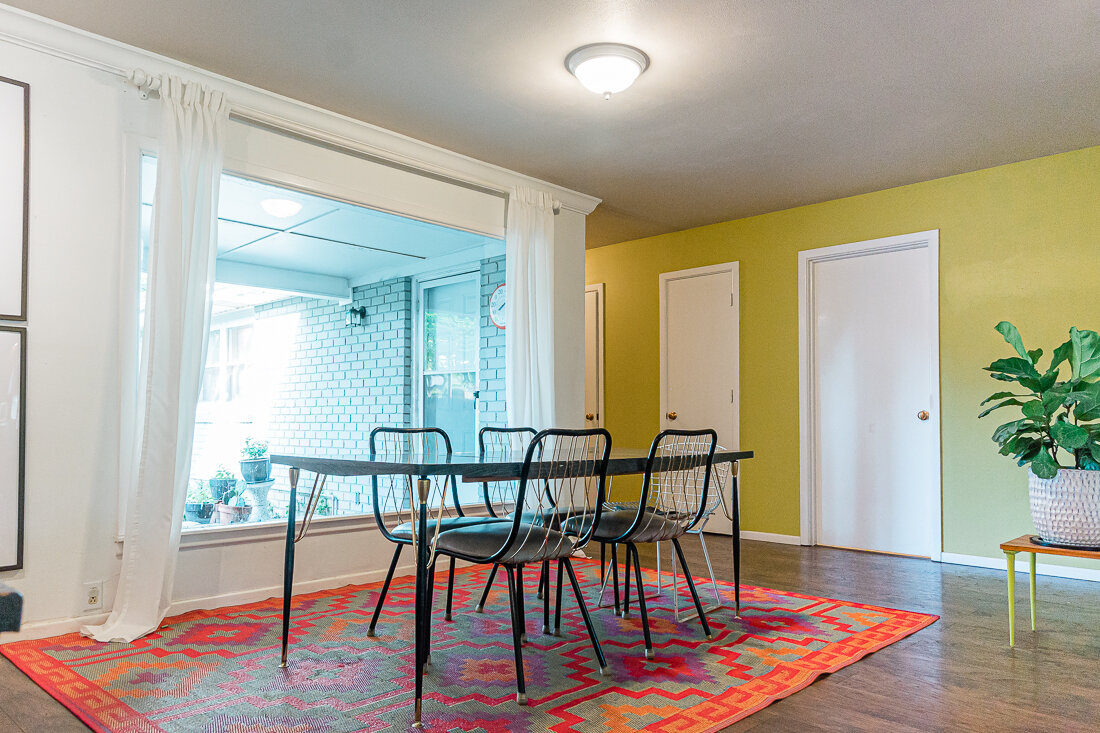
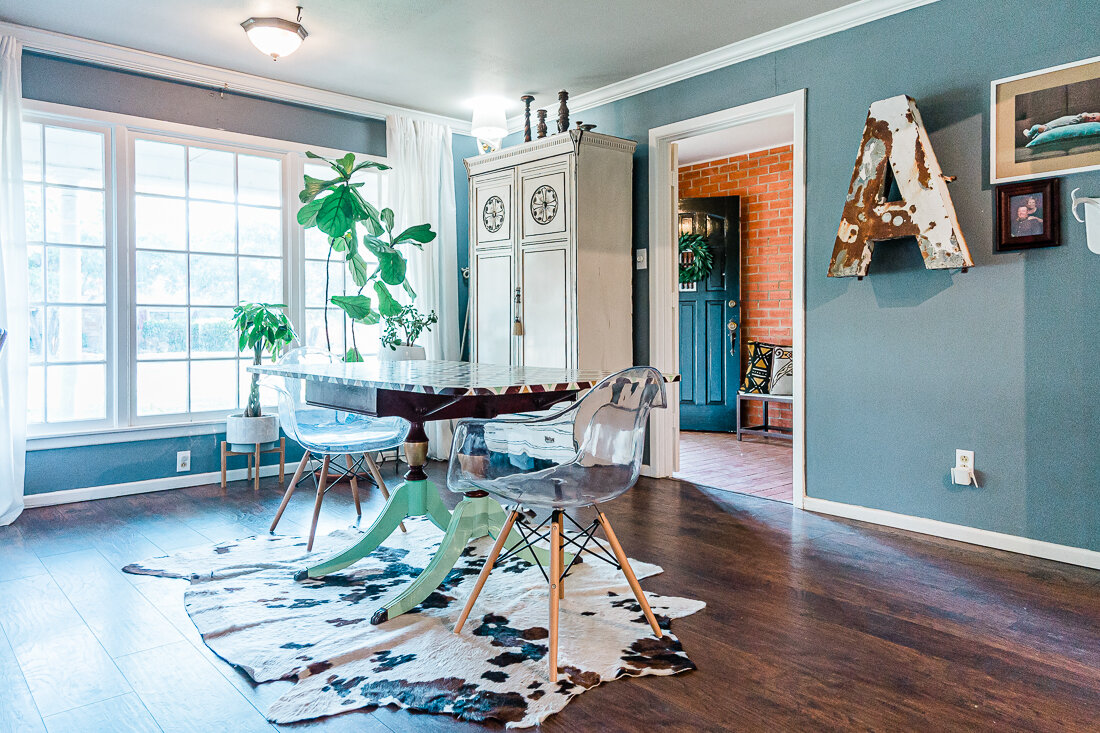
So without further adieu, here are the “before” photos of our new home!

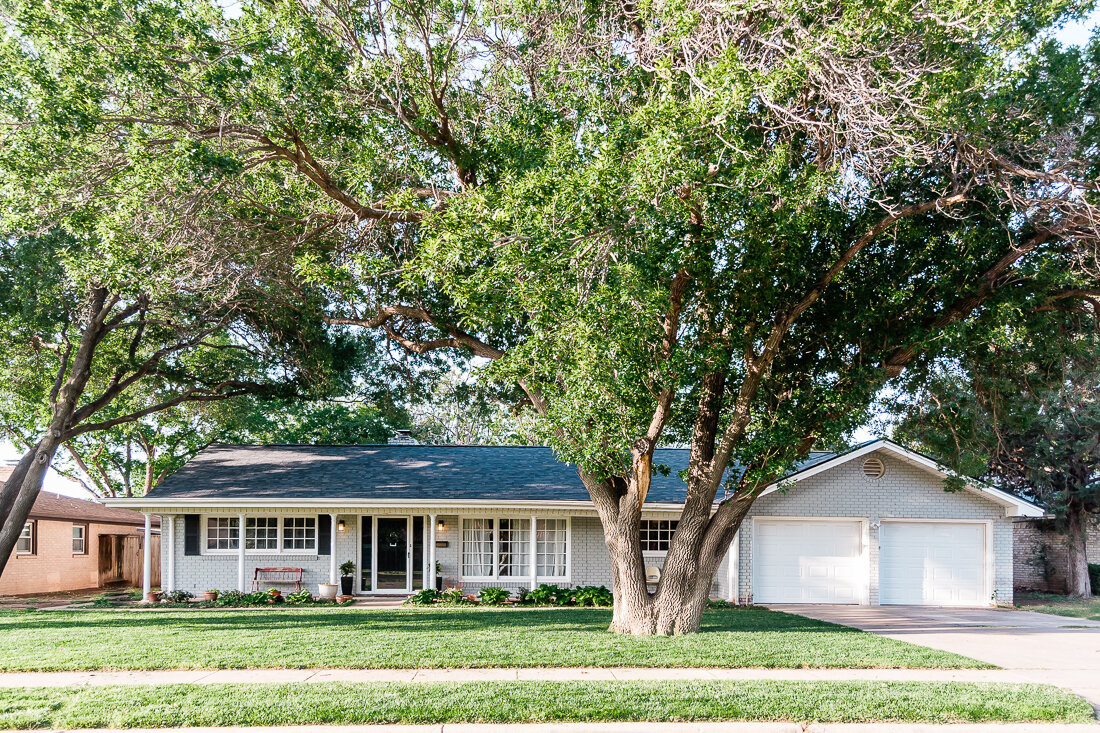
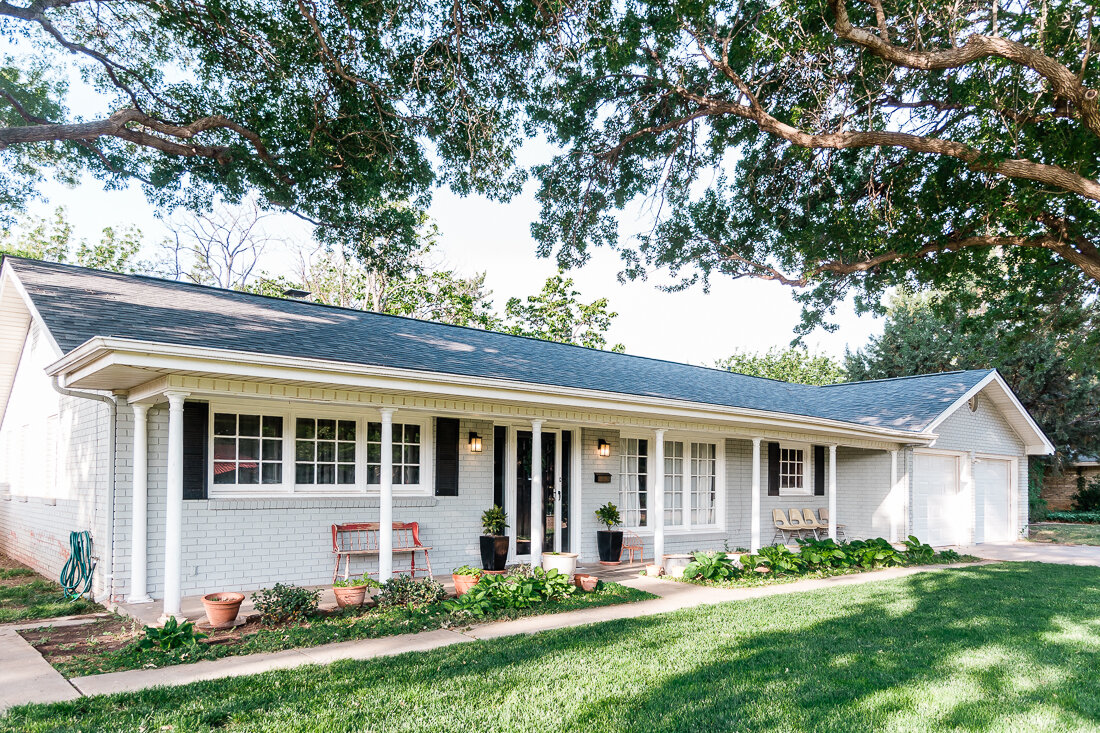
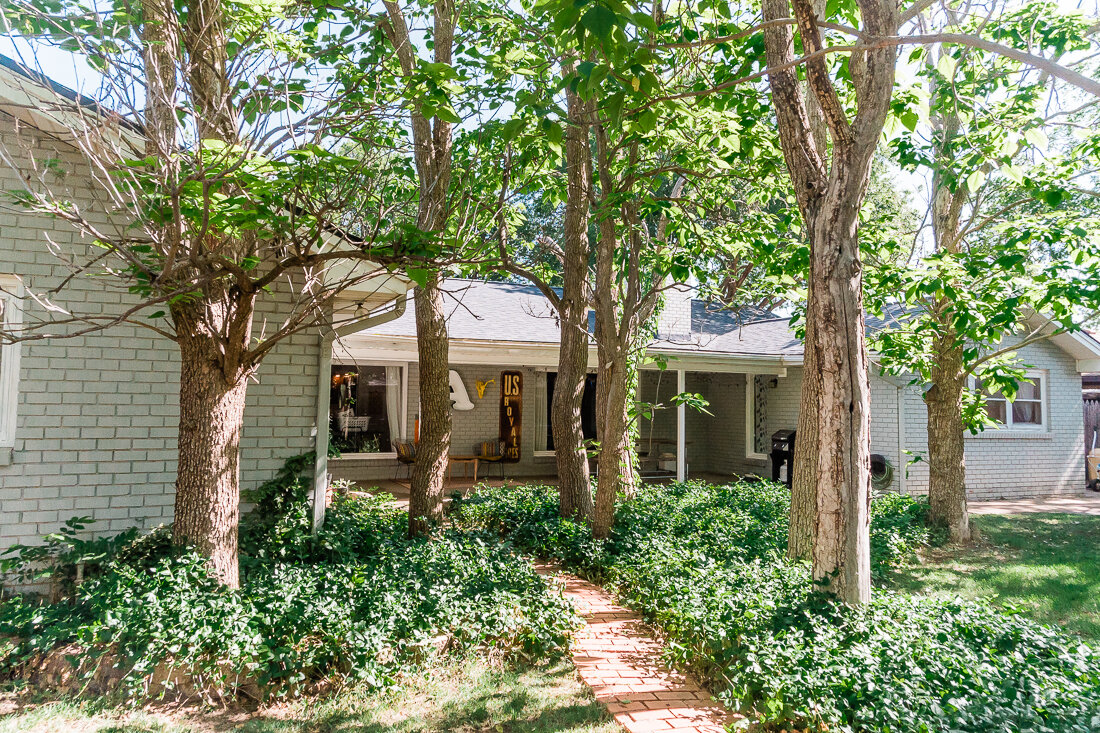
I wasn’t able to get a straight-on view the day I took photos, because there was already a dump trailer in the driveway- ha! I love the wide porch, circle drive, and large pew that the previous owners left on the front porch. In this photo I’d already moved all my plants over.

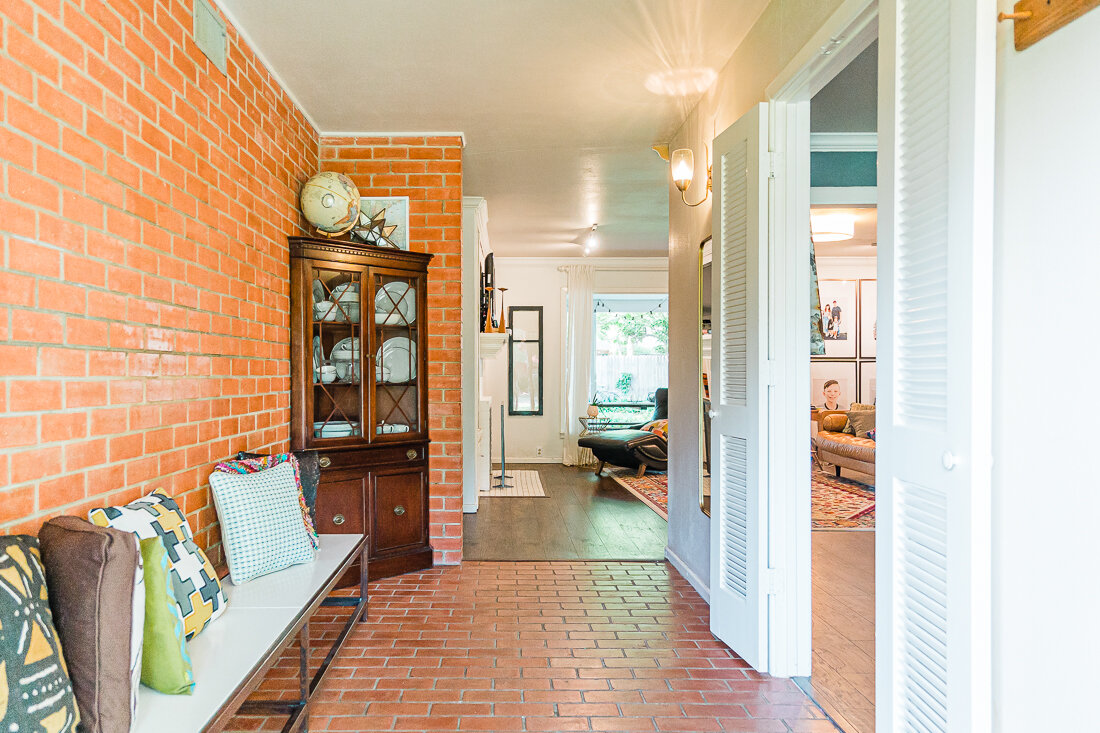
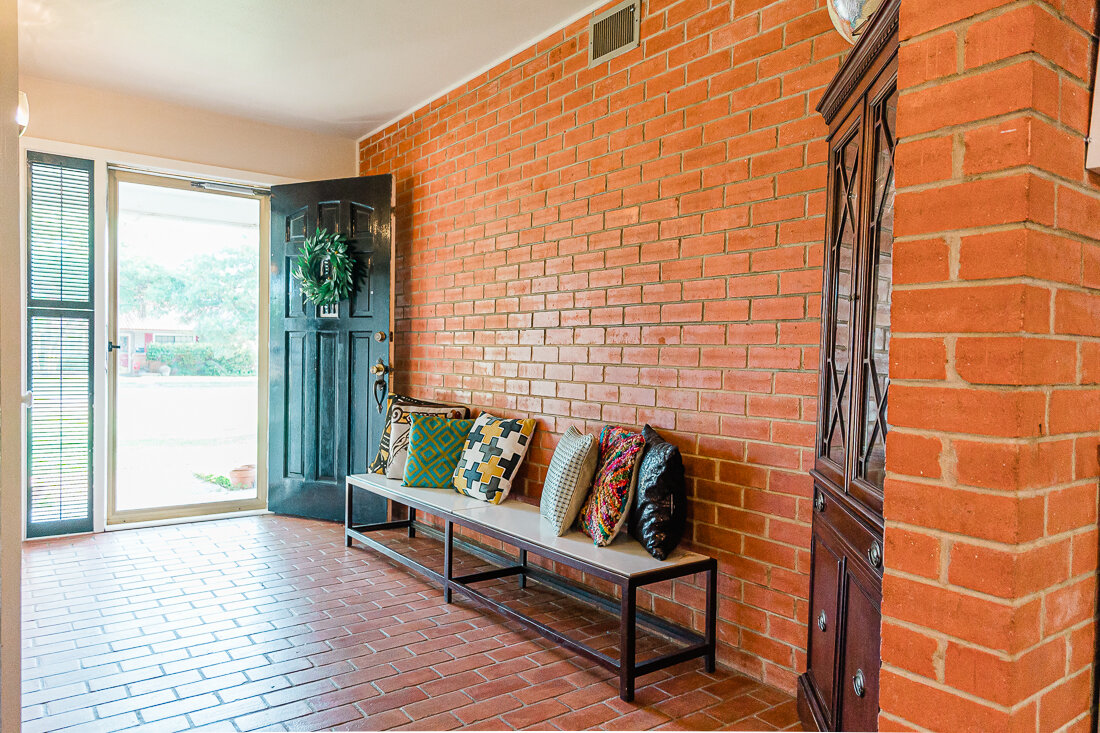
Front entryway.

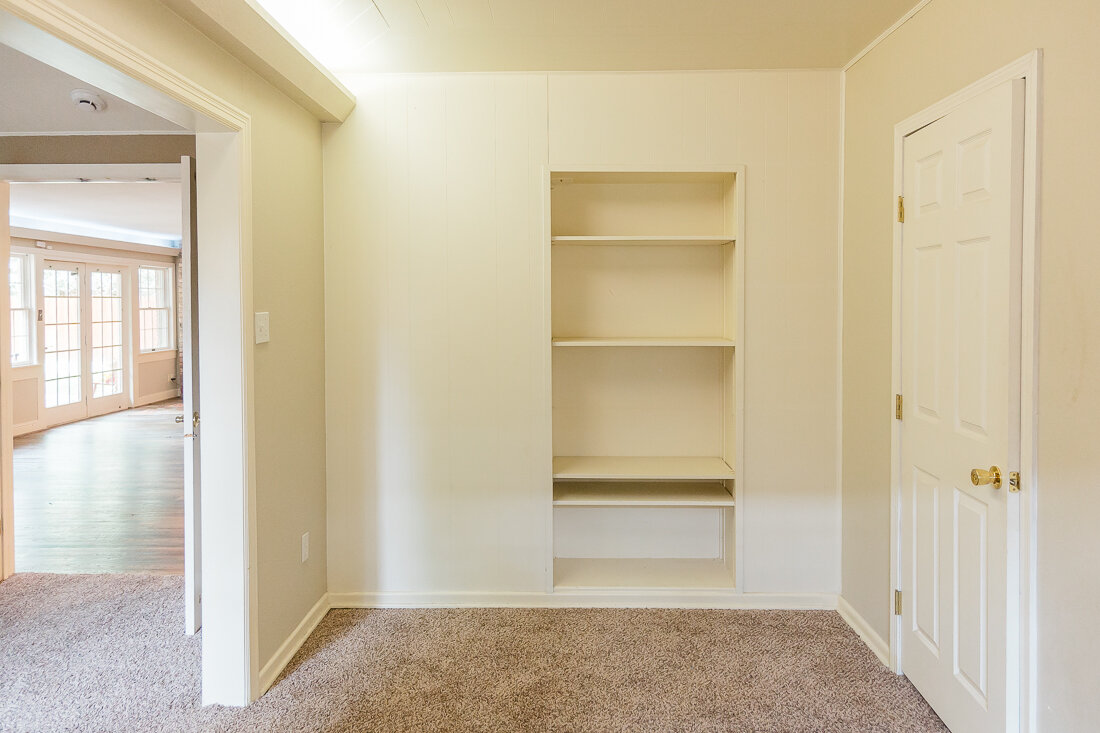
Front entry hallway. This is actually a very wide hallway that I really want to make great use of.

Front bedroom. I am thinking this will be the guest bed/my office. I love the light in here!

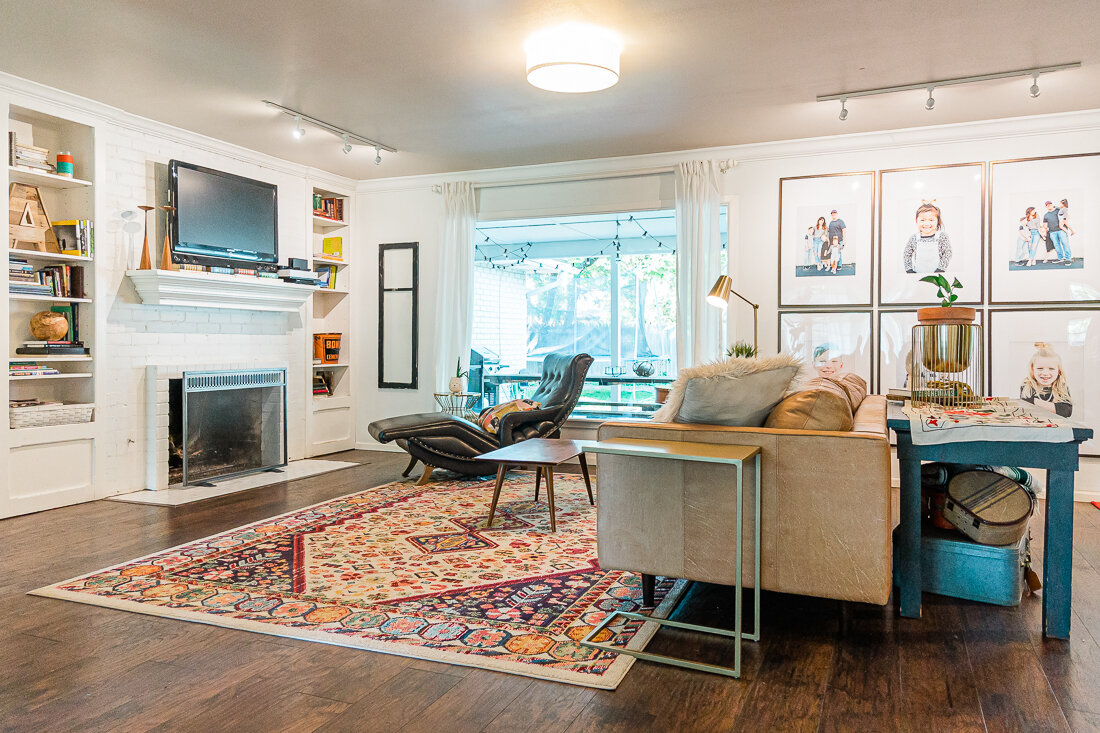
Front living area. We are hoping to put Shawn’s desk and a small living/tv space in here.

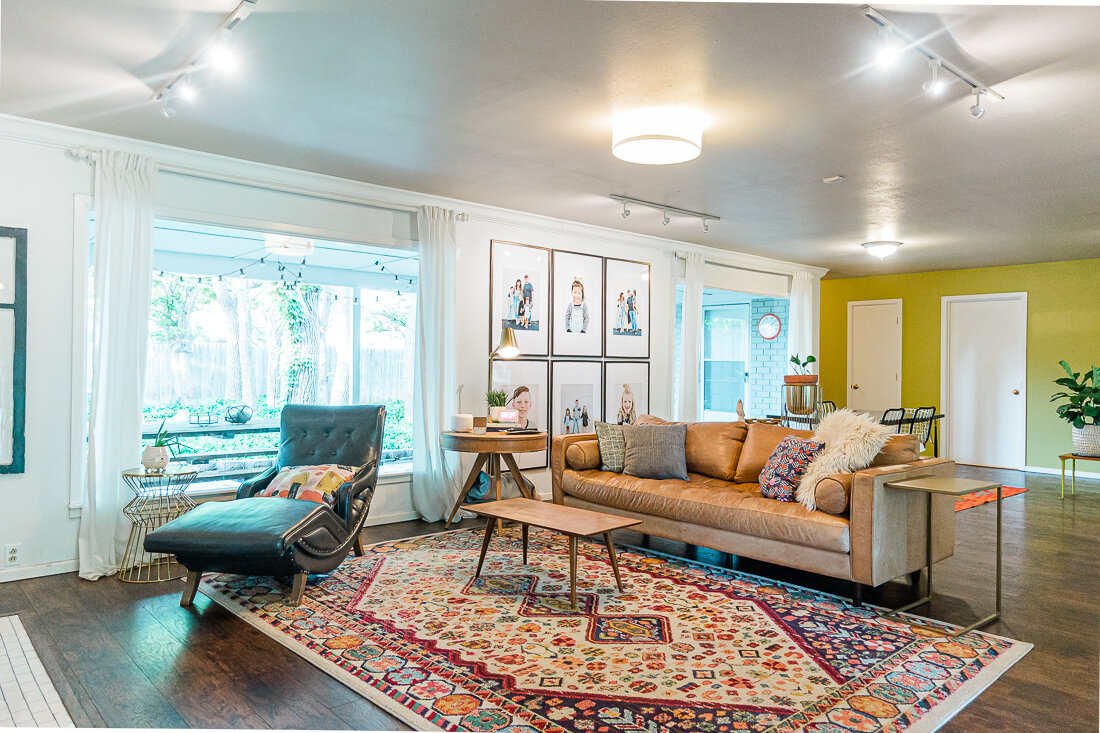
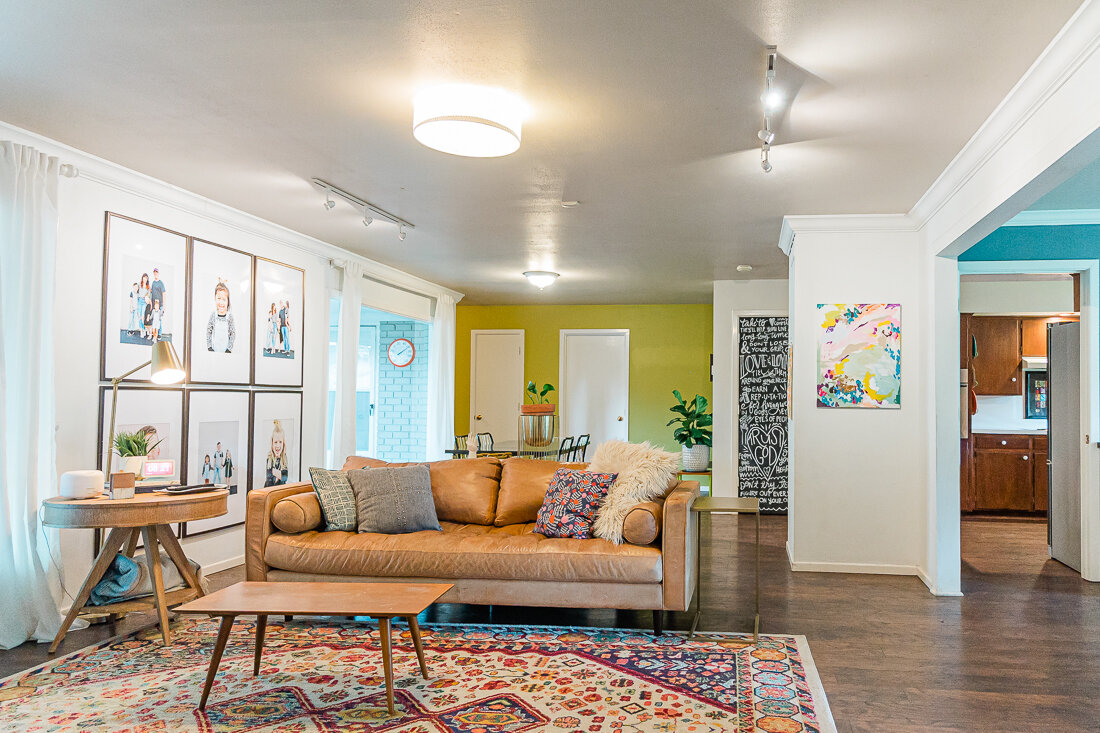
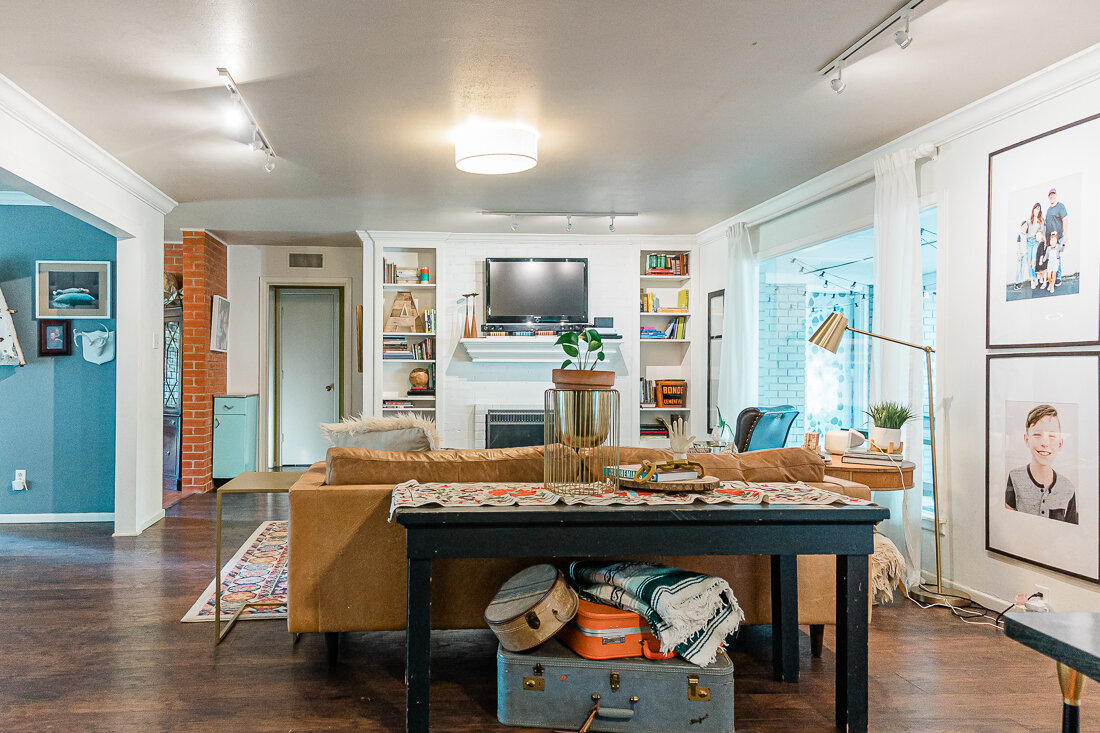
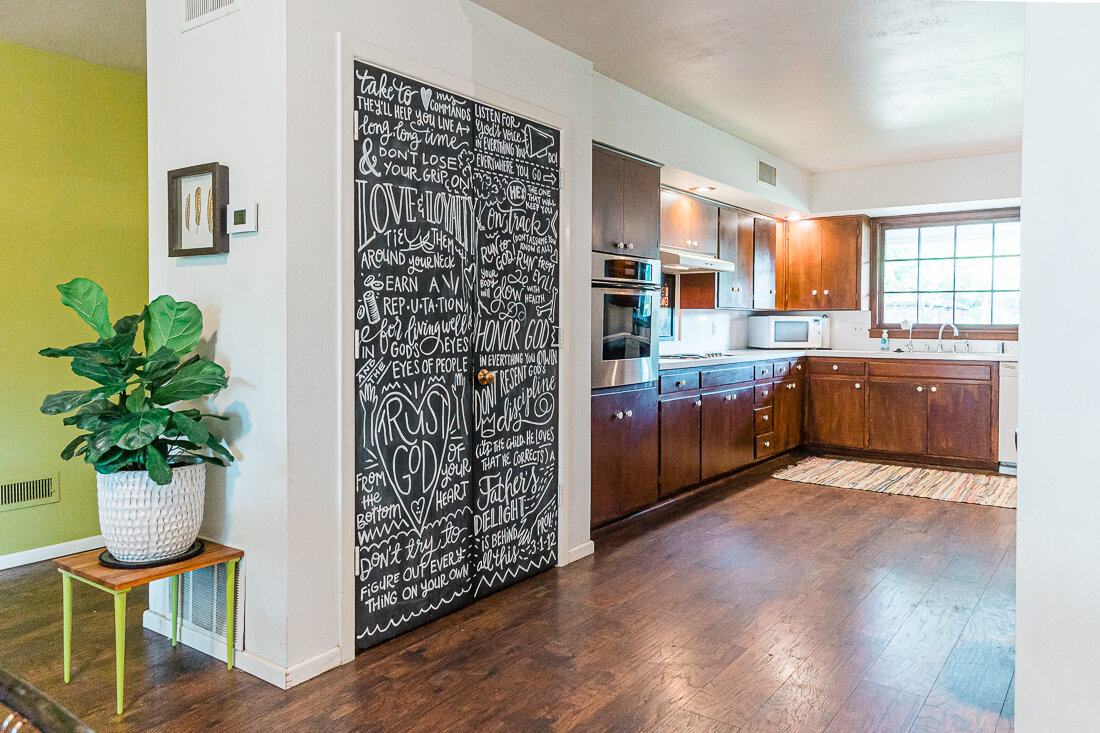
The front entry hallway ends in this room which is the back living space. It was originally the back porch of the house.

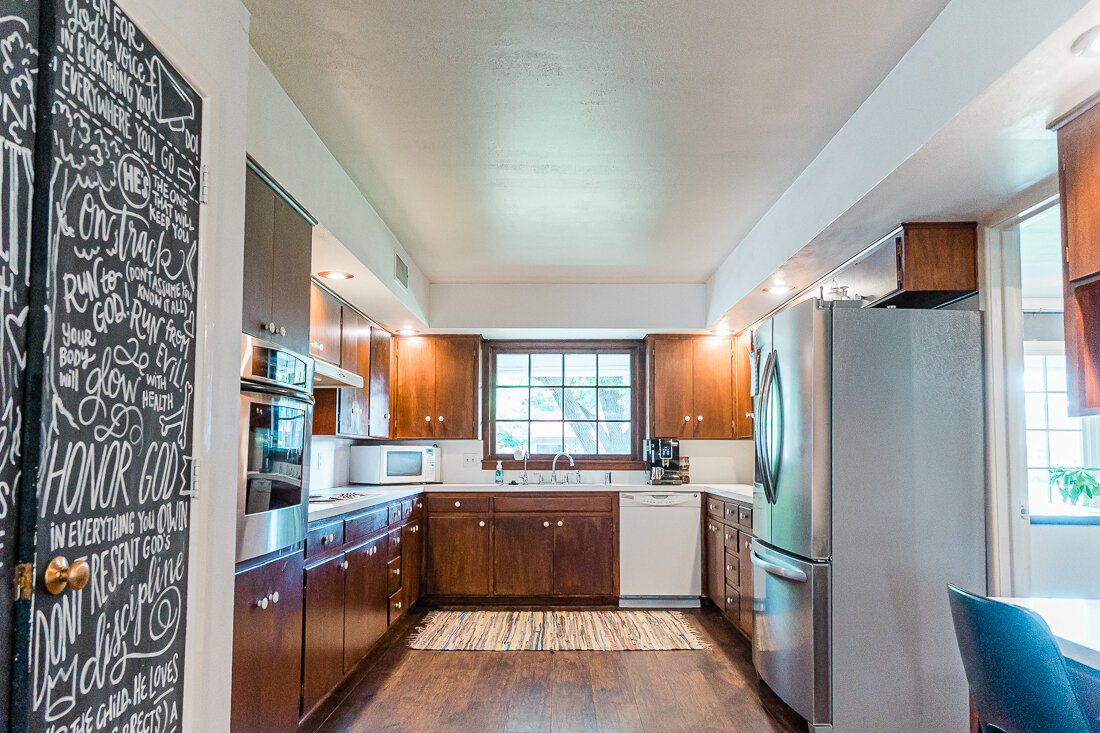
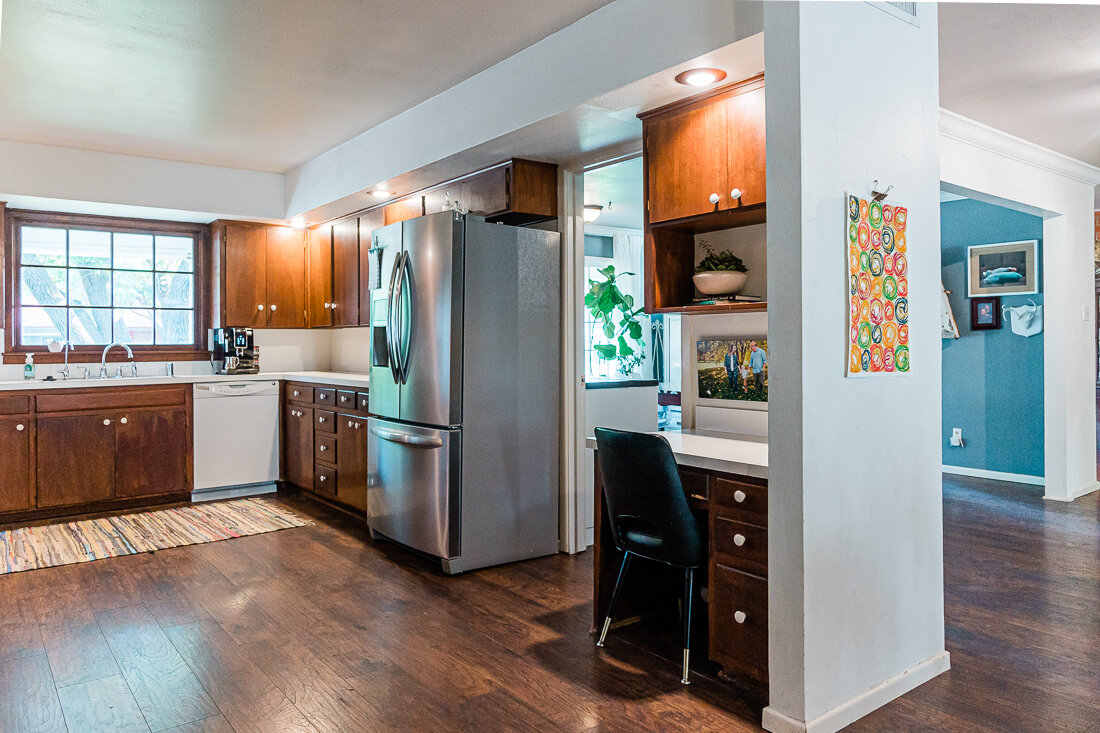
The room is open to the kitchen.

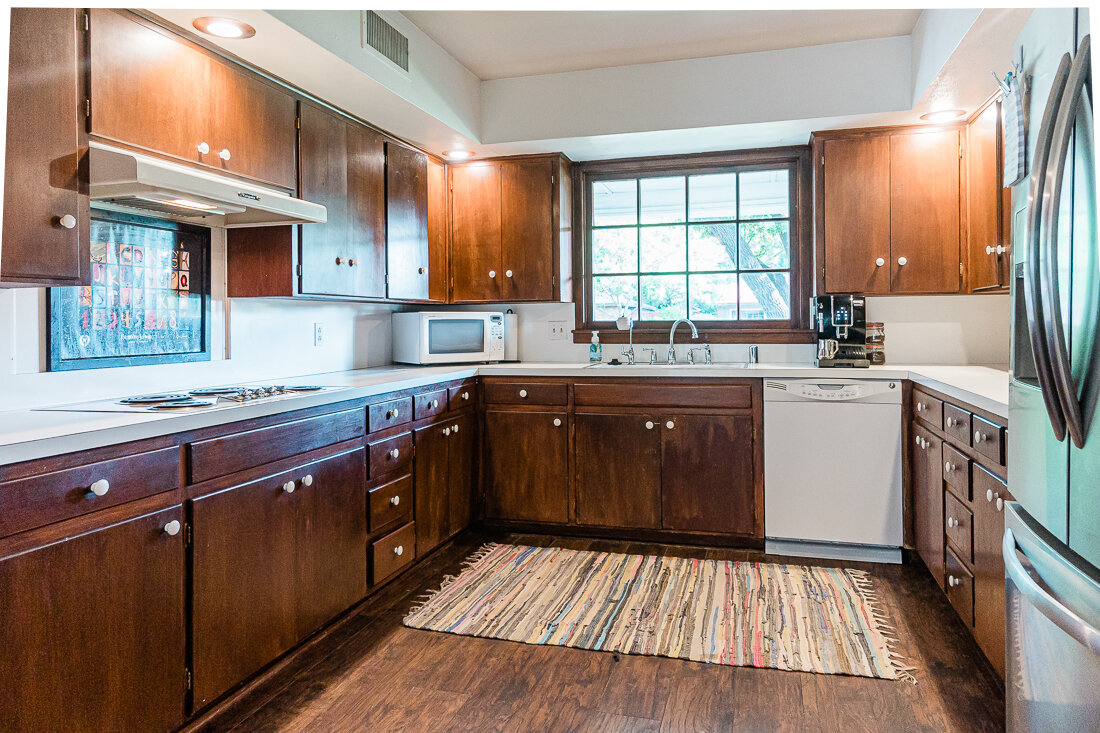
Another view of the kitchen. The door on the right is the master bedroom.

Looking into the kitchen/back living space from the east hallway.

This is an odd little sitting area off the master bedroom. To the left of this window is the master closet.
Opposite view of the sitting area. The door on the right opens to the front bedroom closet which is a bit odd.

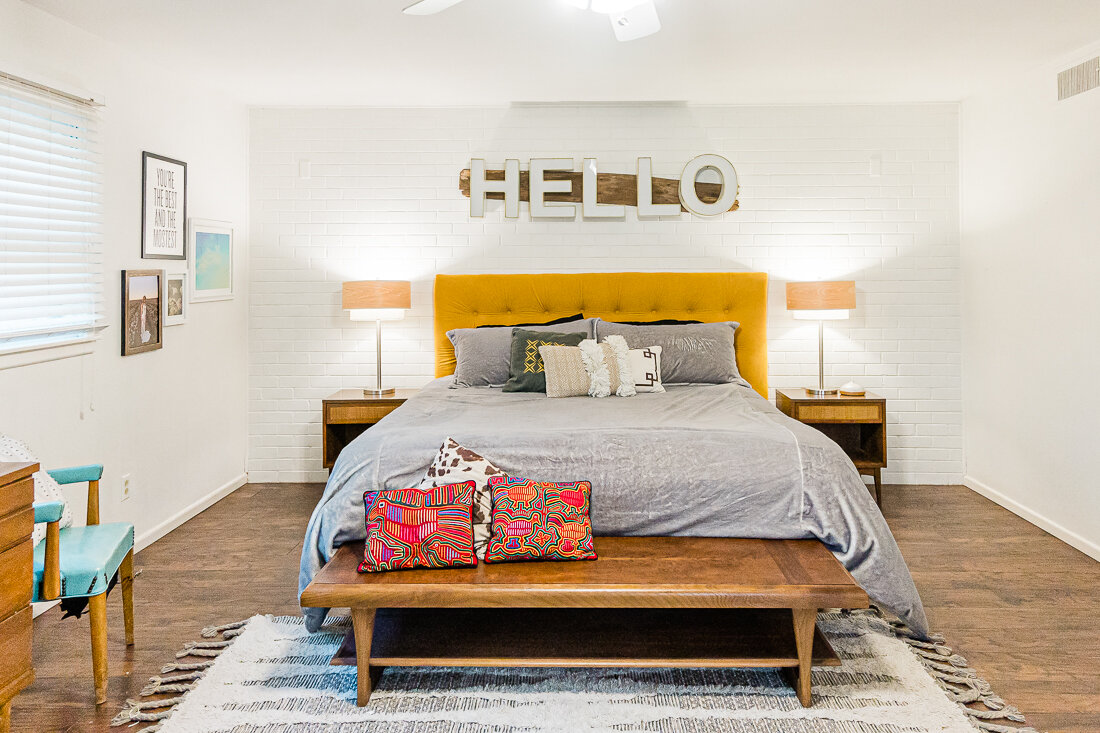
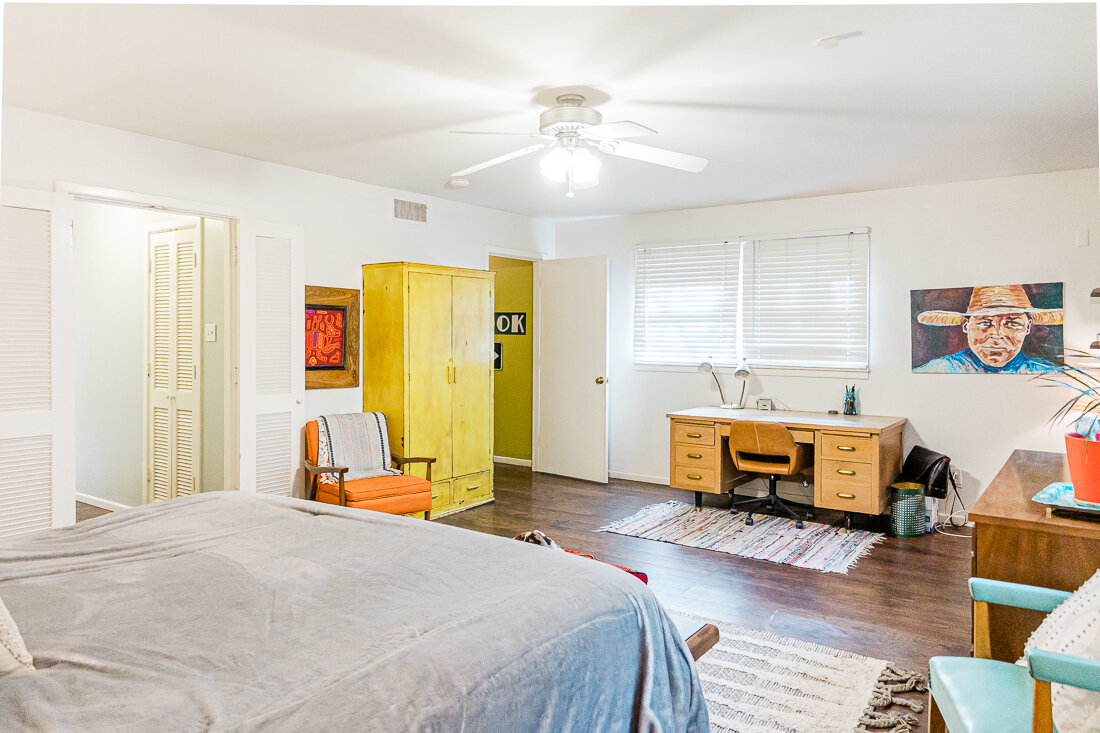
Master bedroom

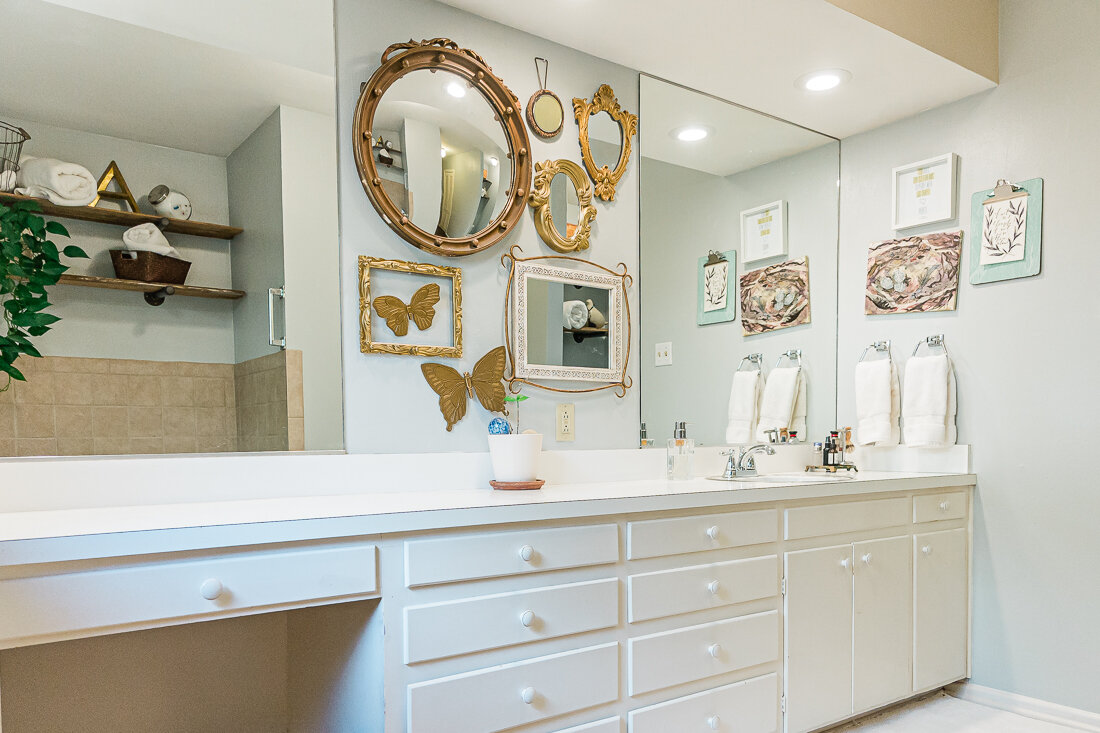
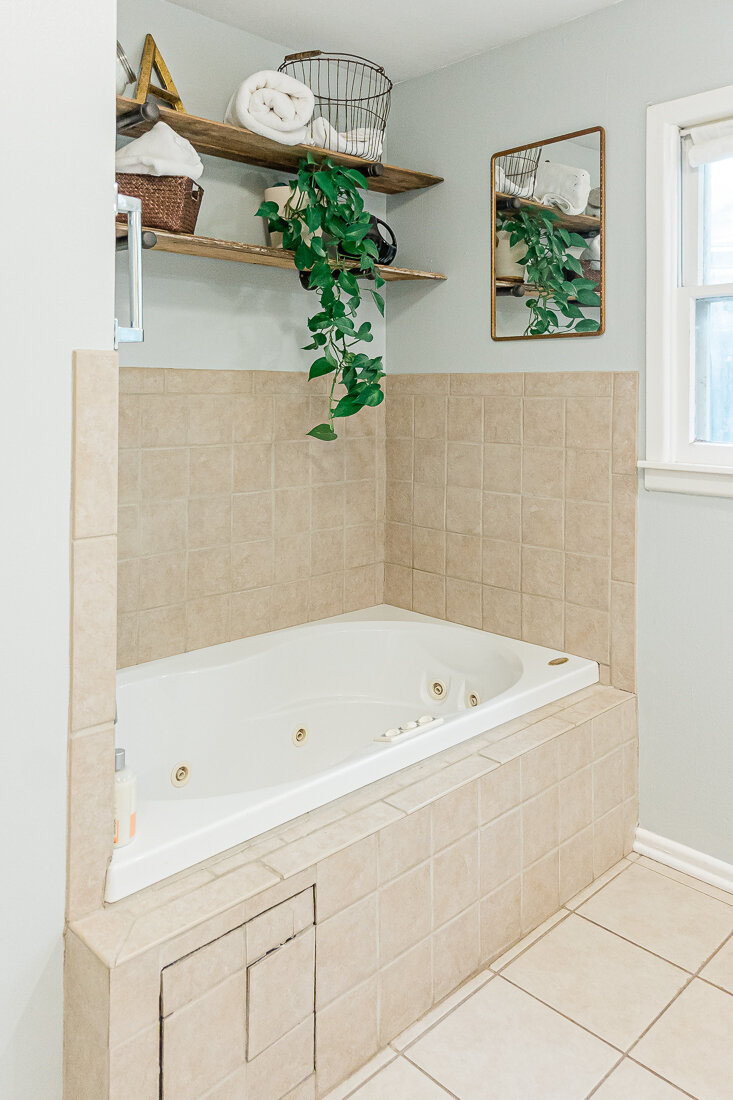
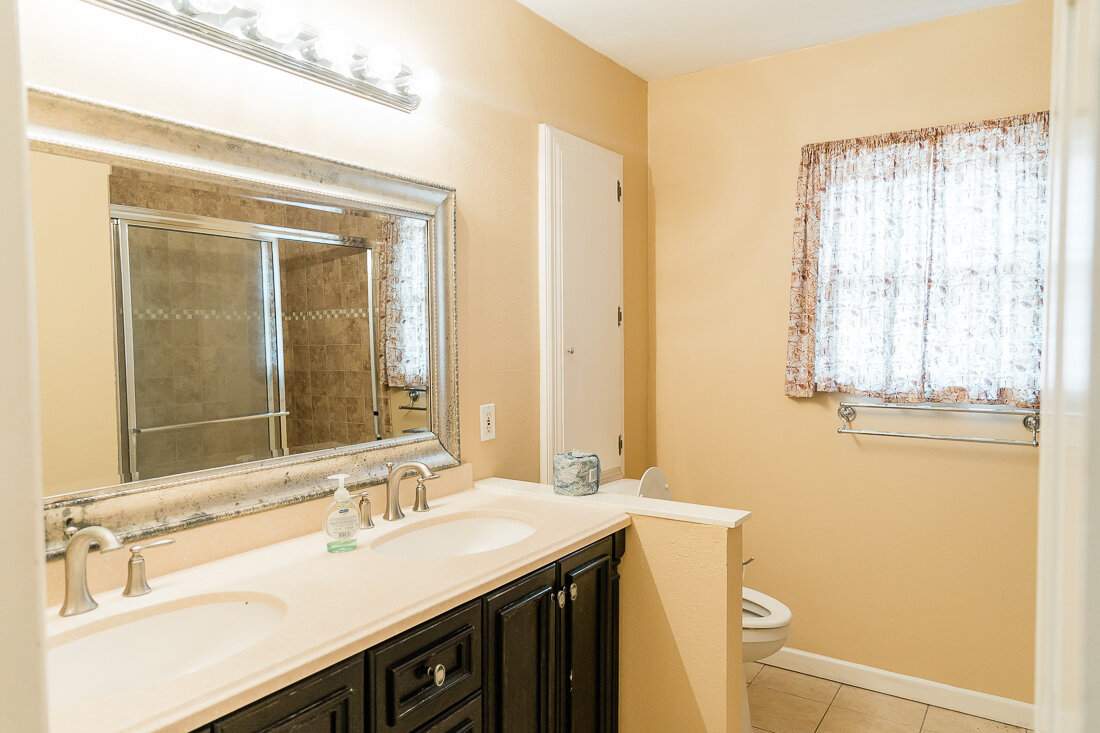
Master bath- this is through the left door in the above photo.

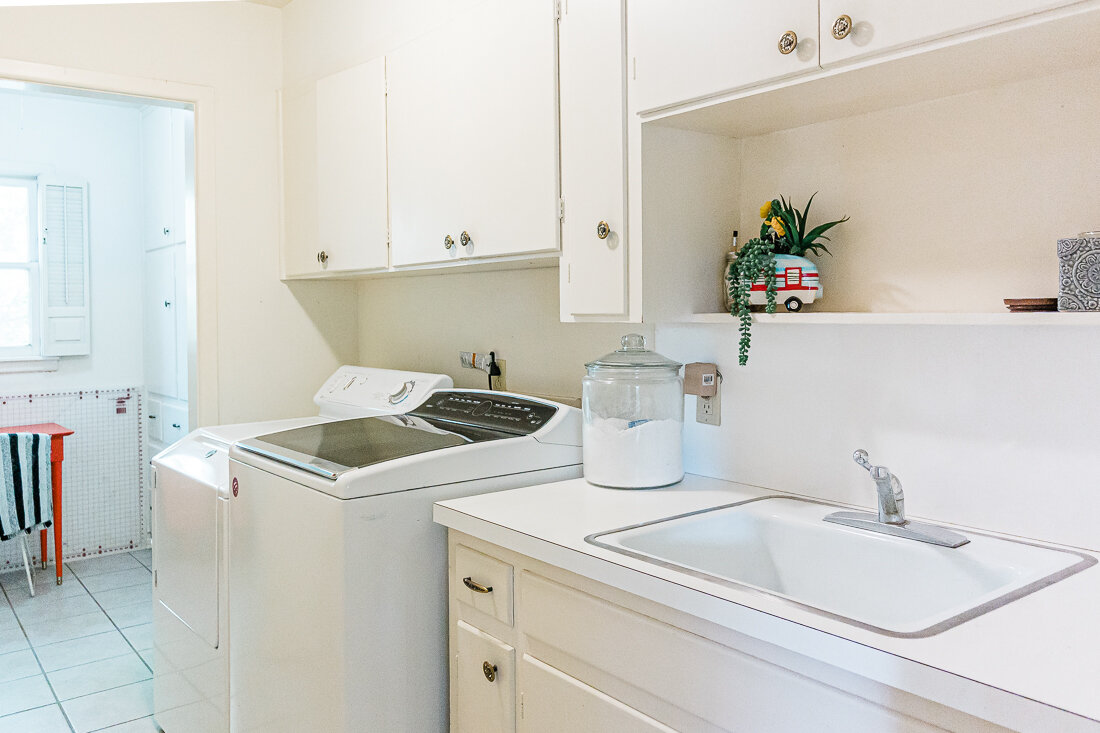
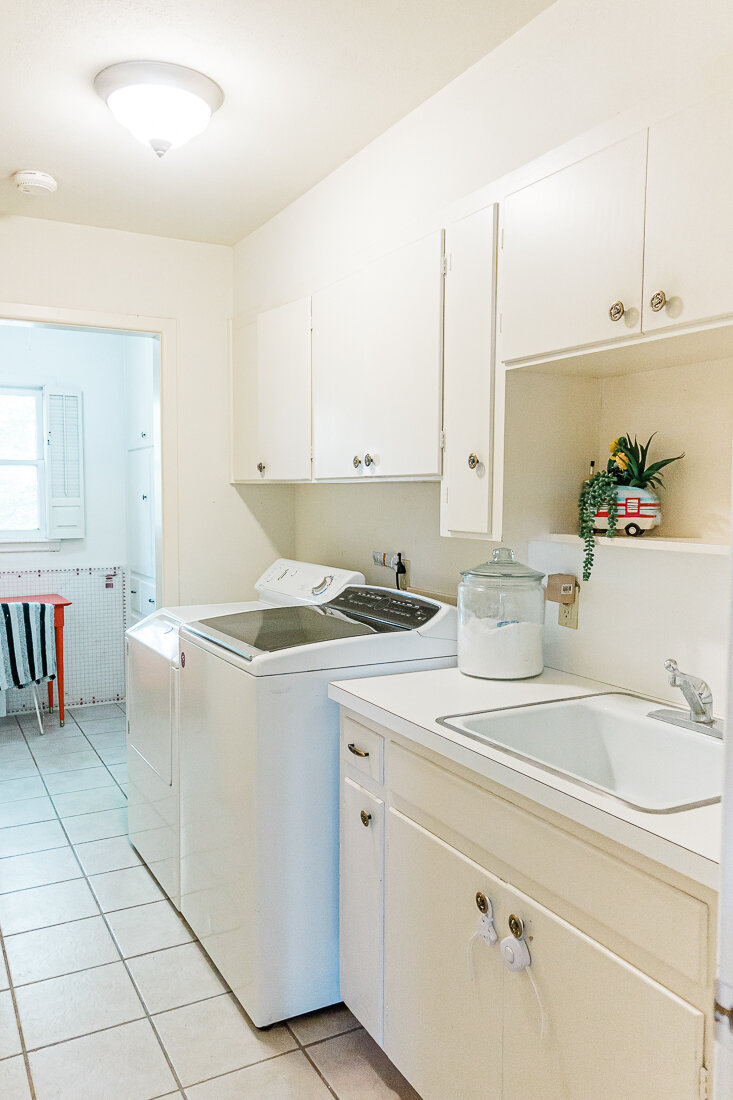
Laundry room- this is through the right door in the master bedroom photo. We moved over our deep freezer and Christmas tree- that is not a body bag! Haha

East side hallway- connects the kitchen to the kids’ bedrooms and guest bathroom.

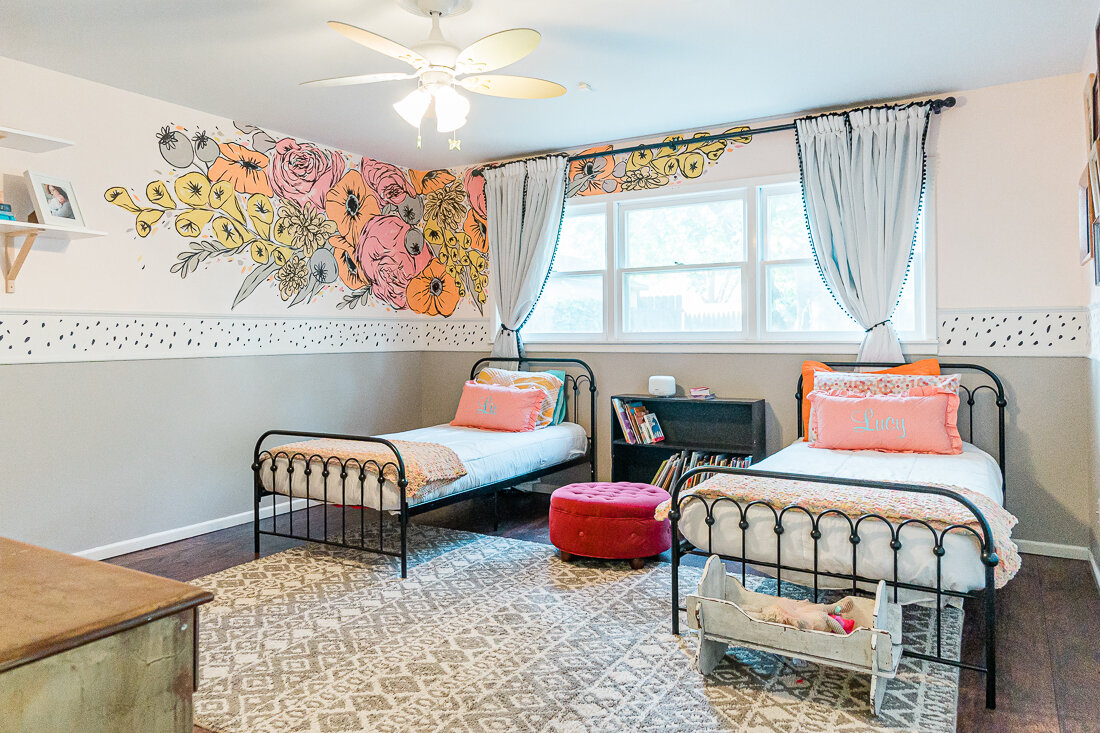
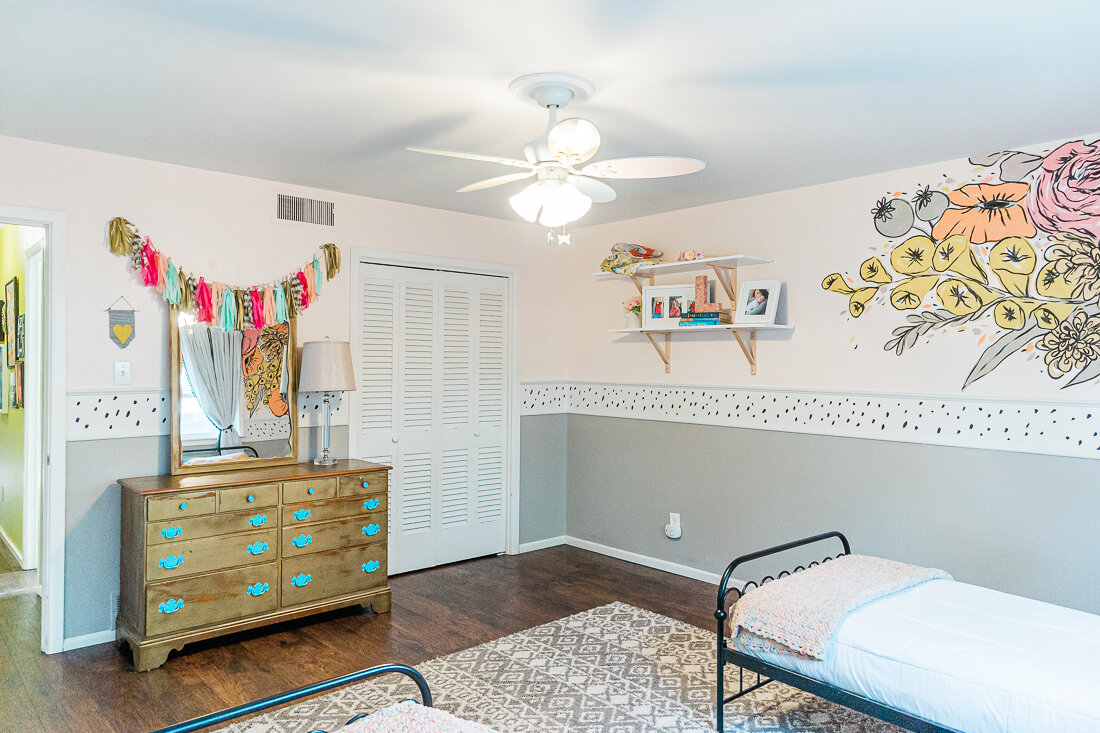
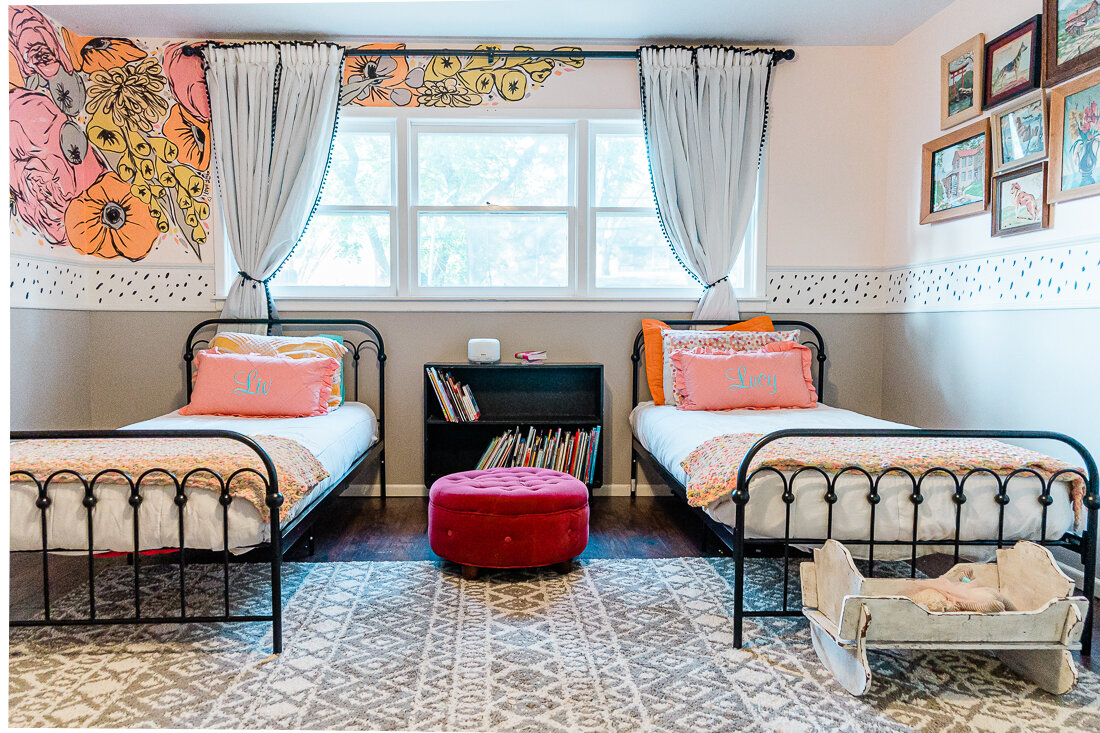
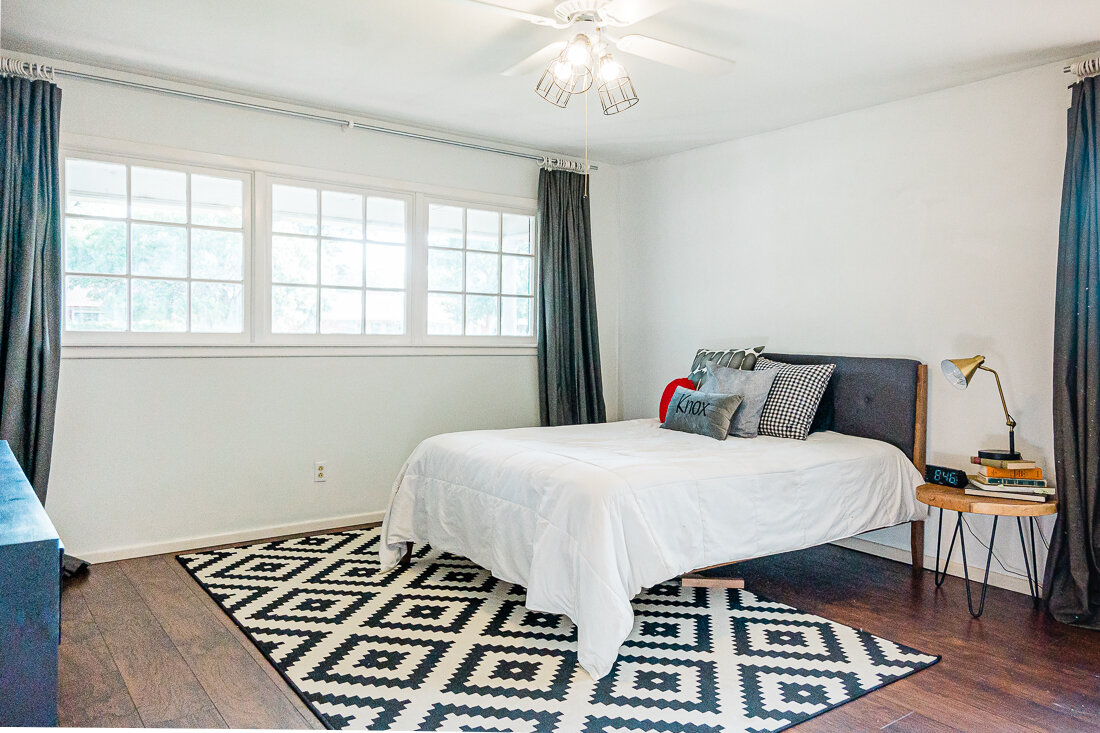
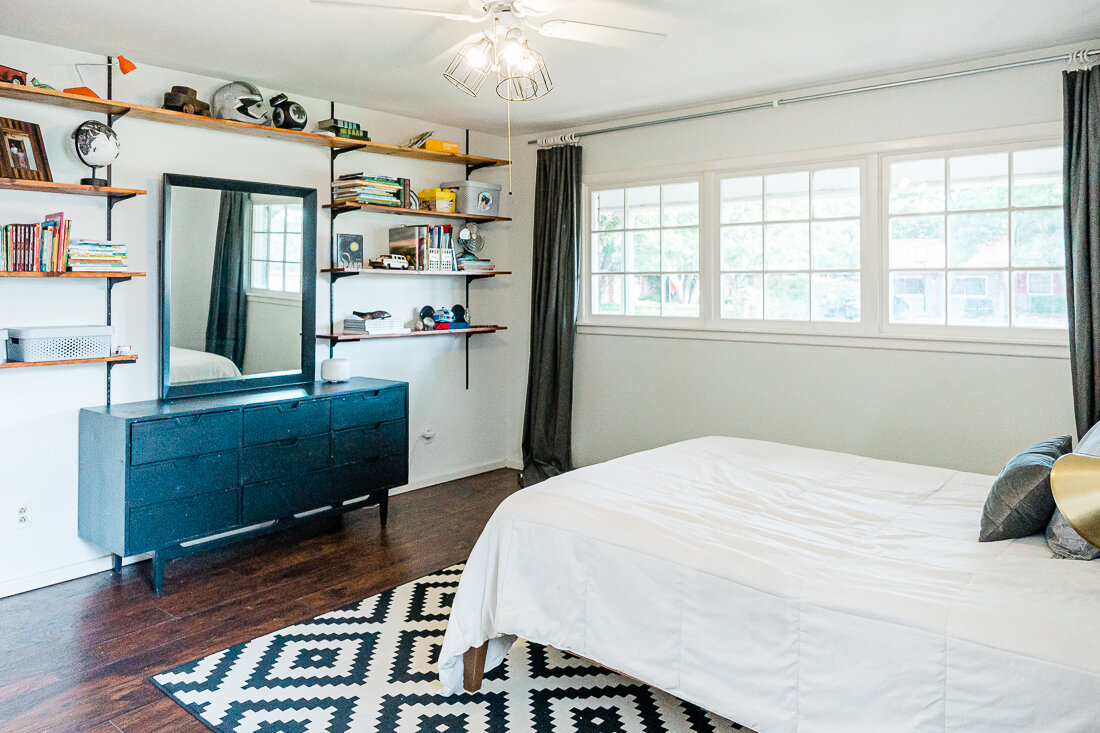
Back bedroom

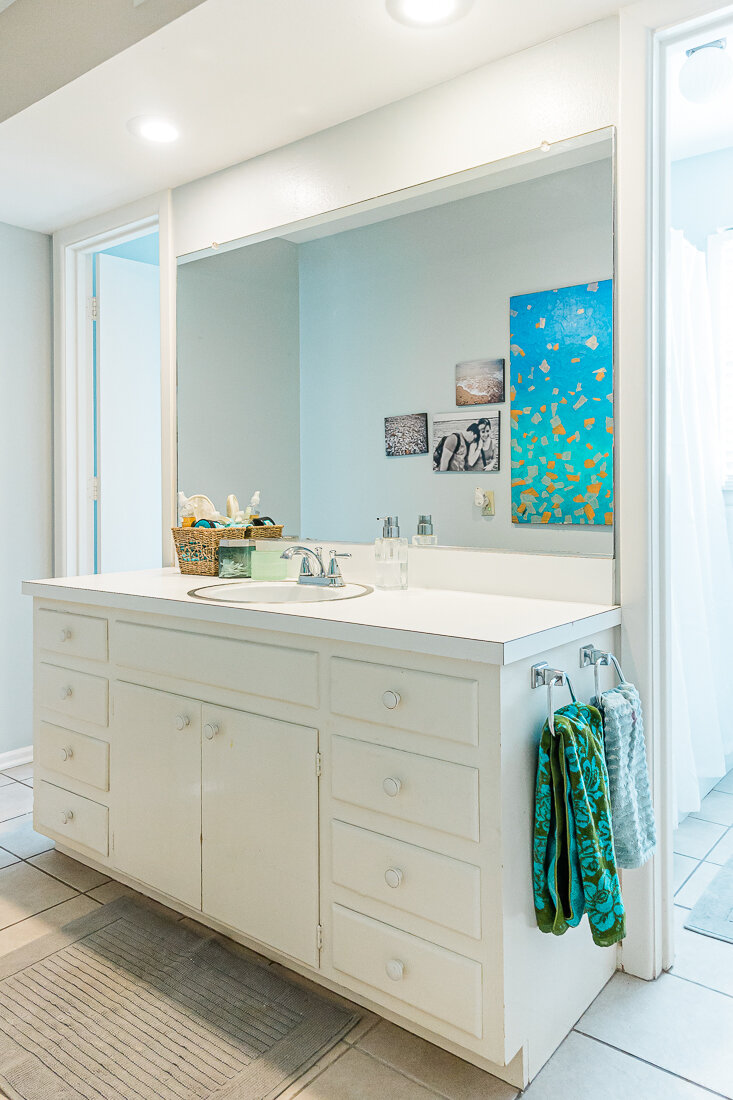
Small ensuite bathroom in the back bedroom.
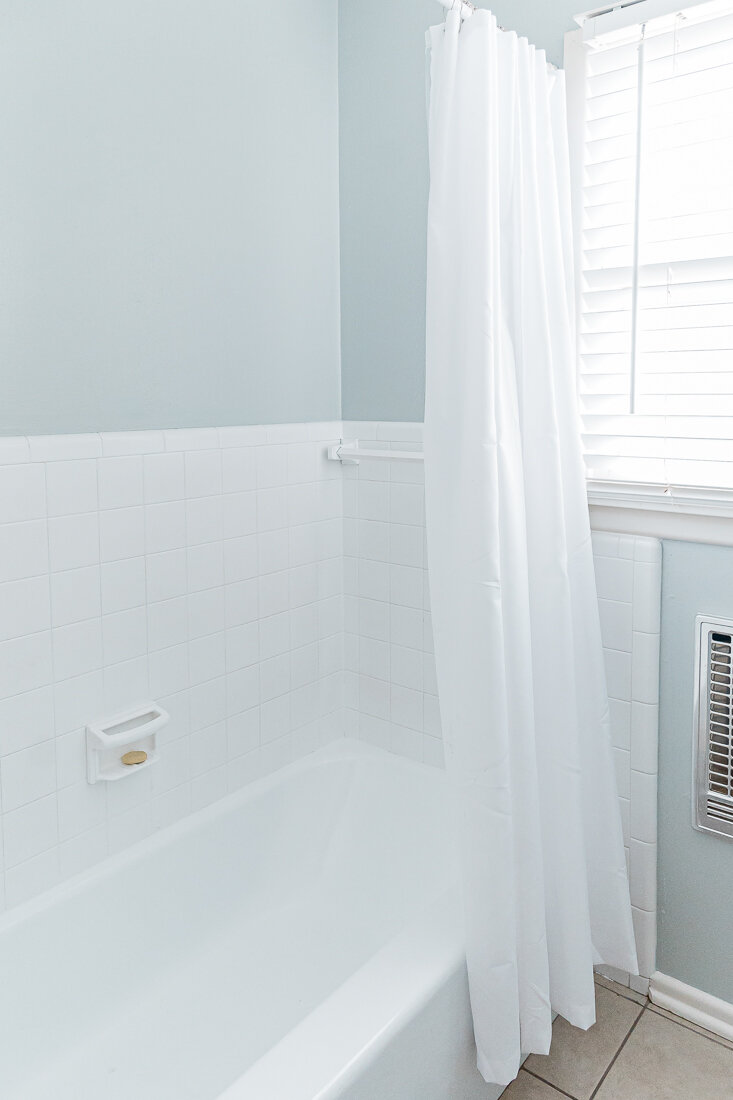
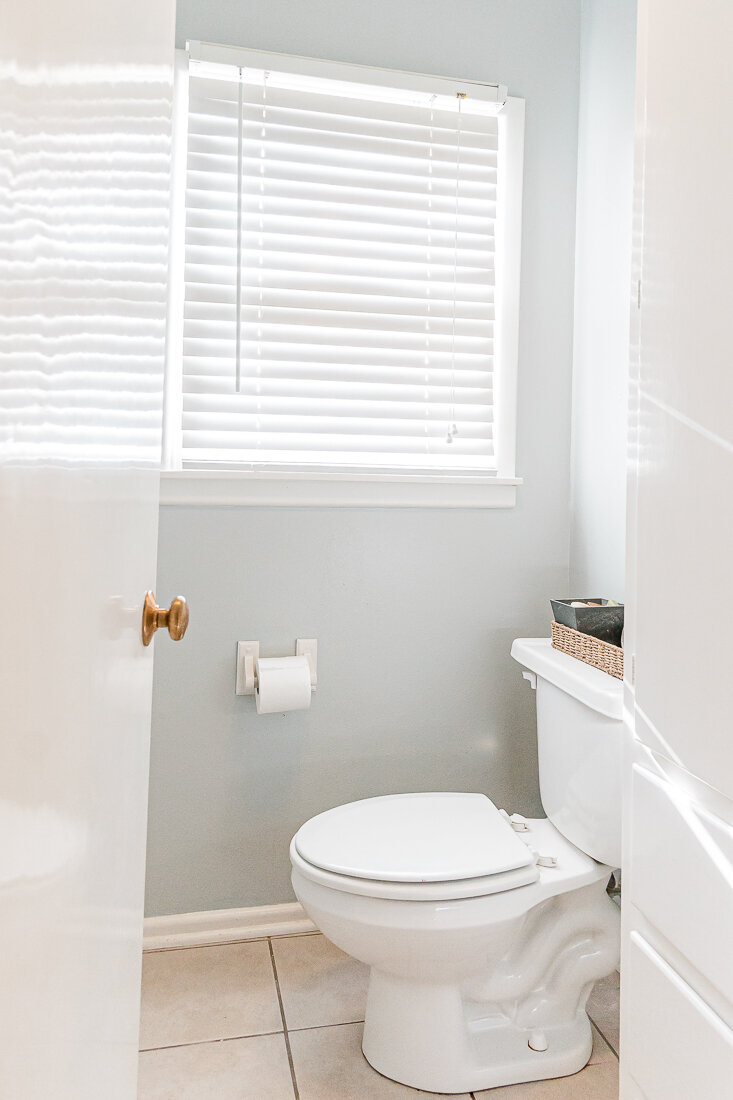
Hall/Guest bathroom

Front bedroom

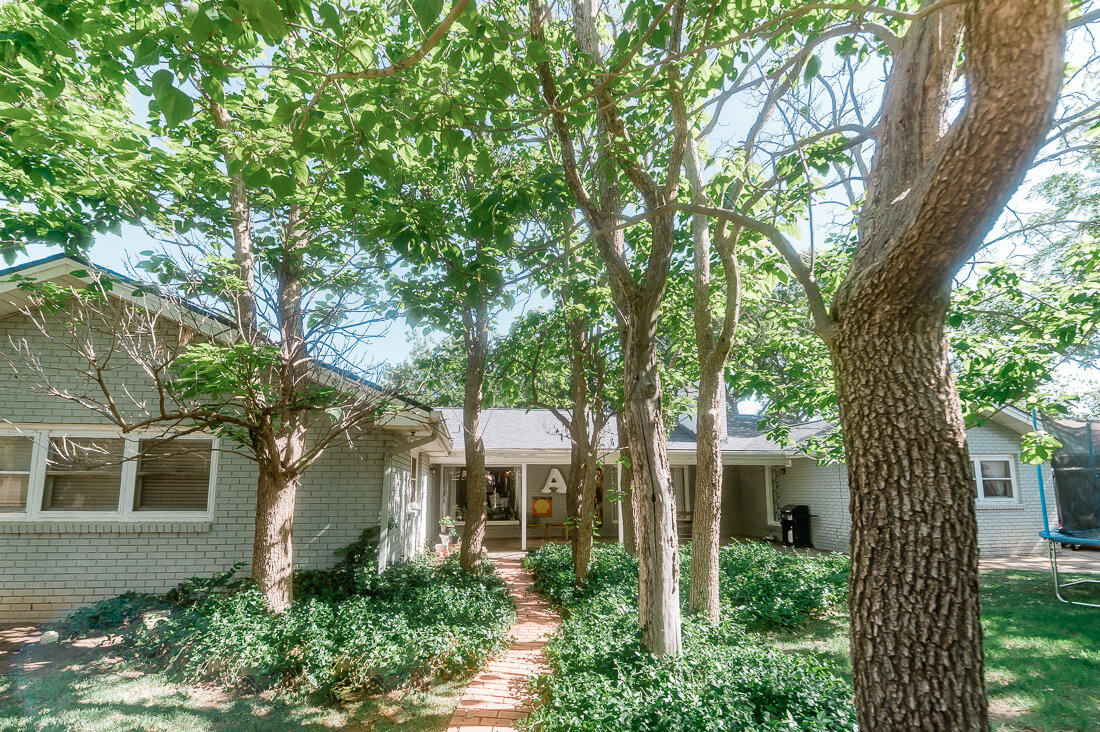
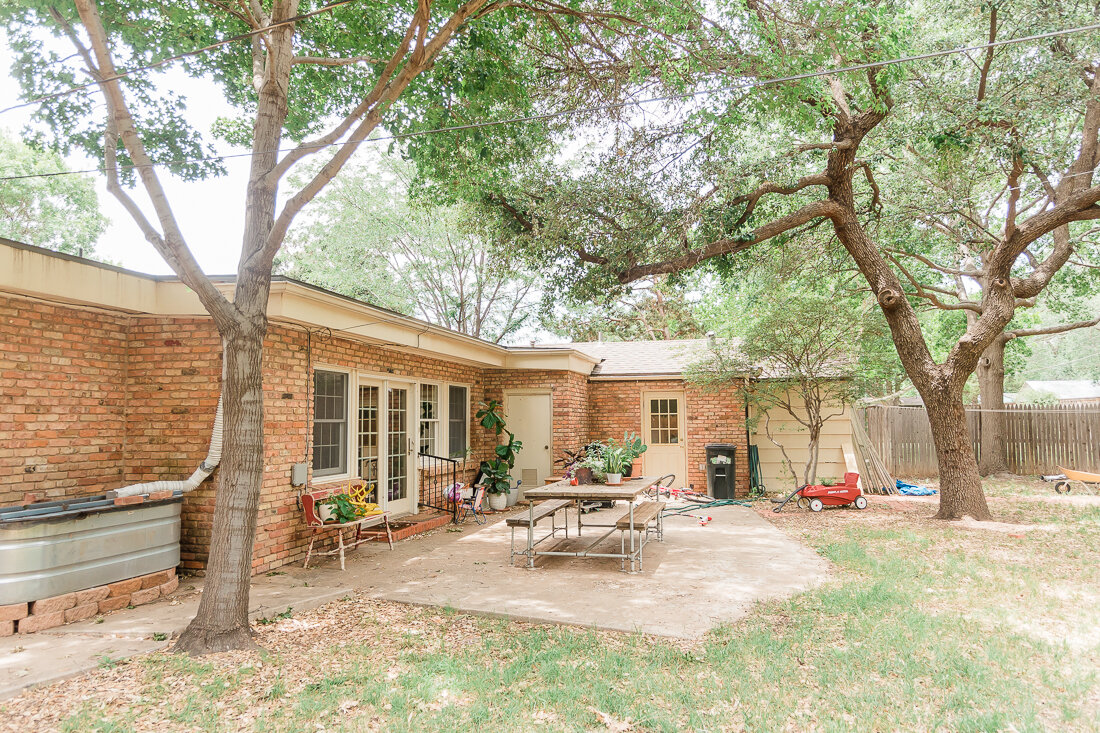
And backyard! We moved all of our “outside stuff” over, so it is a bit of a mess right now.
Planning on lots of sweet memories here!
There you go! Next up I’m going to show you the work that has already been done- our contractor did NOT mess around getting started!
Tell me what you think! What do you like best? What would you get rid of first? If you want a sneak peek of what I am envisioning, come follow me on Pinterest!
This has already been such a fun project. Thanks for tuning in!