Lissa Anglin • Part of Me Blog

Art, décor, family and photography- it's all part of me!

cricut crafts

thrifted word banners made with cricut!

CRAFTS, DIY, HOMElissa-anglinComment
IMG_1354.JPG

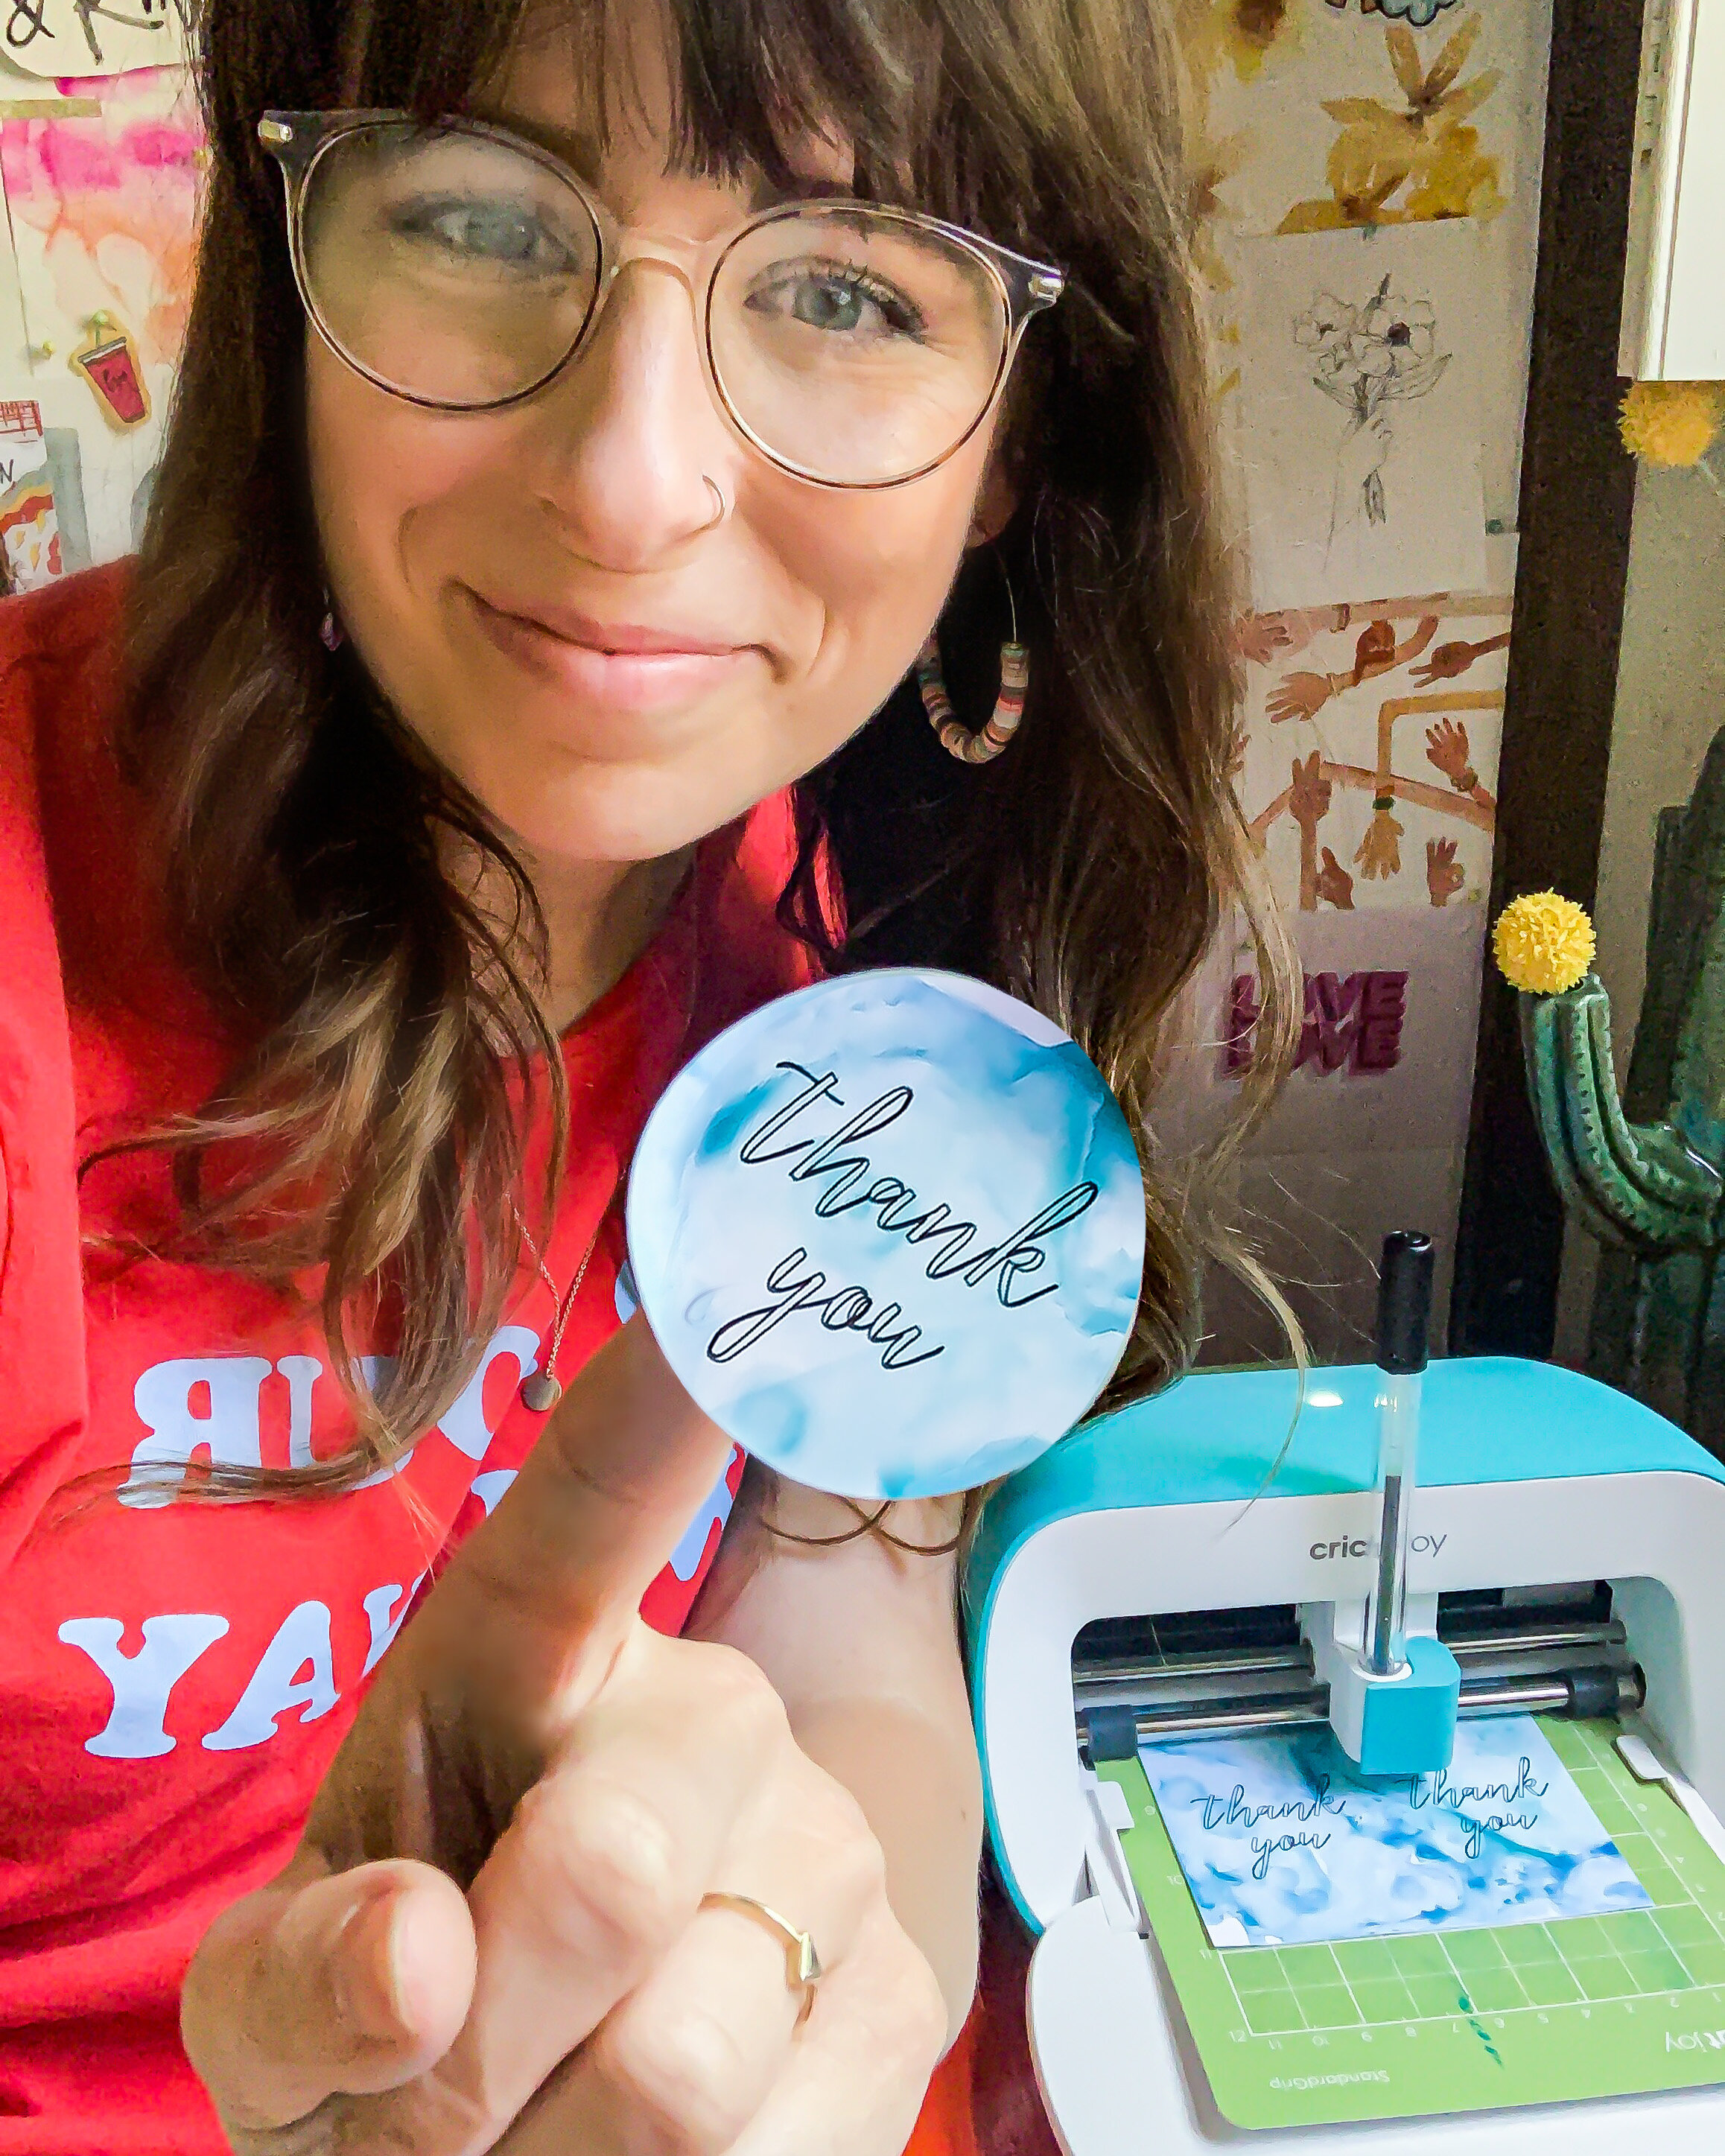
Ya’ll, never have I had such a rollercoaster of a project. When I first pitched to Cricut that I wanted to make some cool signs for my home with thrifted pieces, I couldn’t WAIT to get started. So of course, I waited riiiight up until the last day to make them and GUESS WHAT?!? The project failed miserably.

So I tried it a little differently. FAIL. And then I tried like 3 more times before I just threw up my hands and yelled ABANDON SHIP! 😂Thankfully, I have one of the best thrift shops in town close by and so I hopped in the car and sought out some new inspiration. And like always, the thrift store delivered.

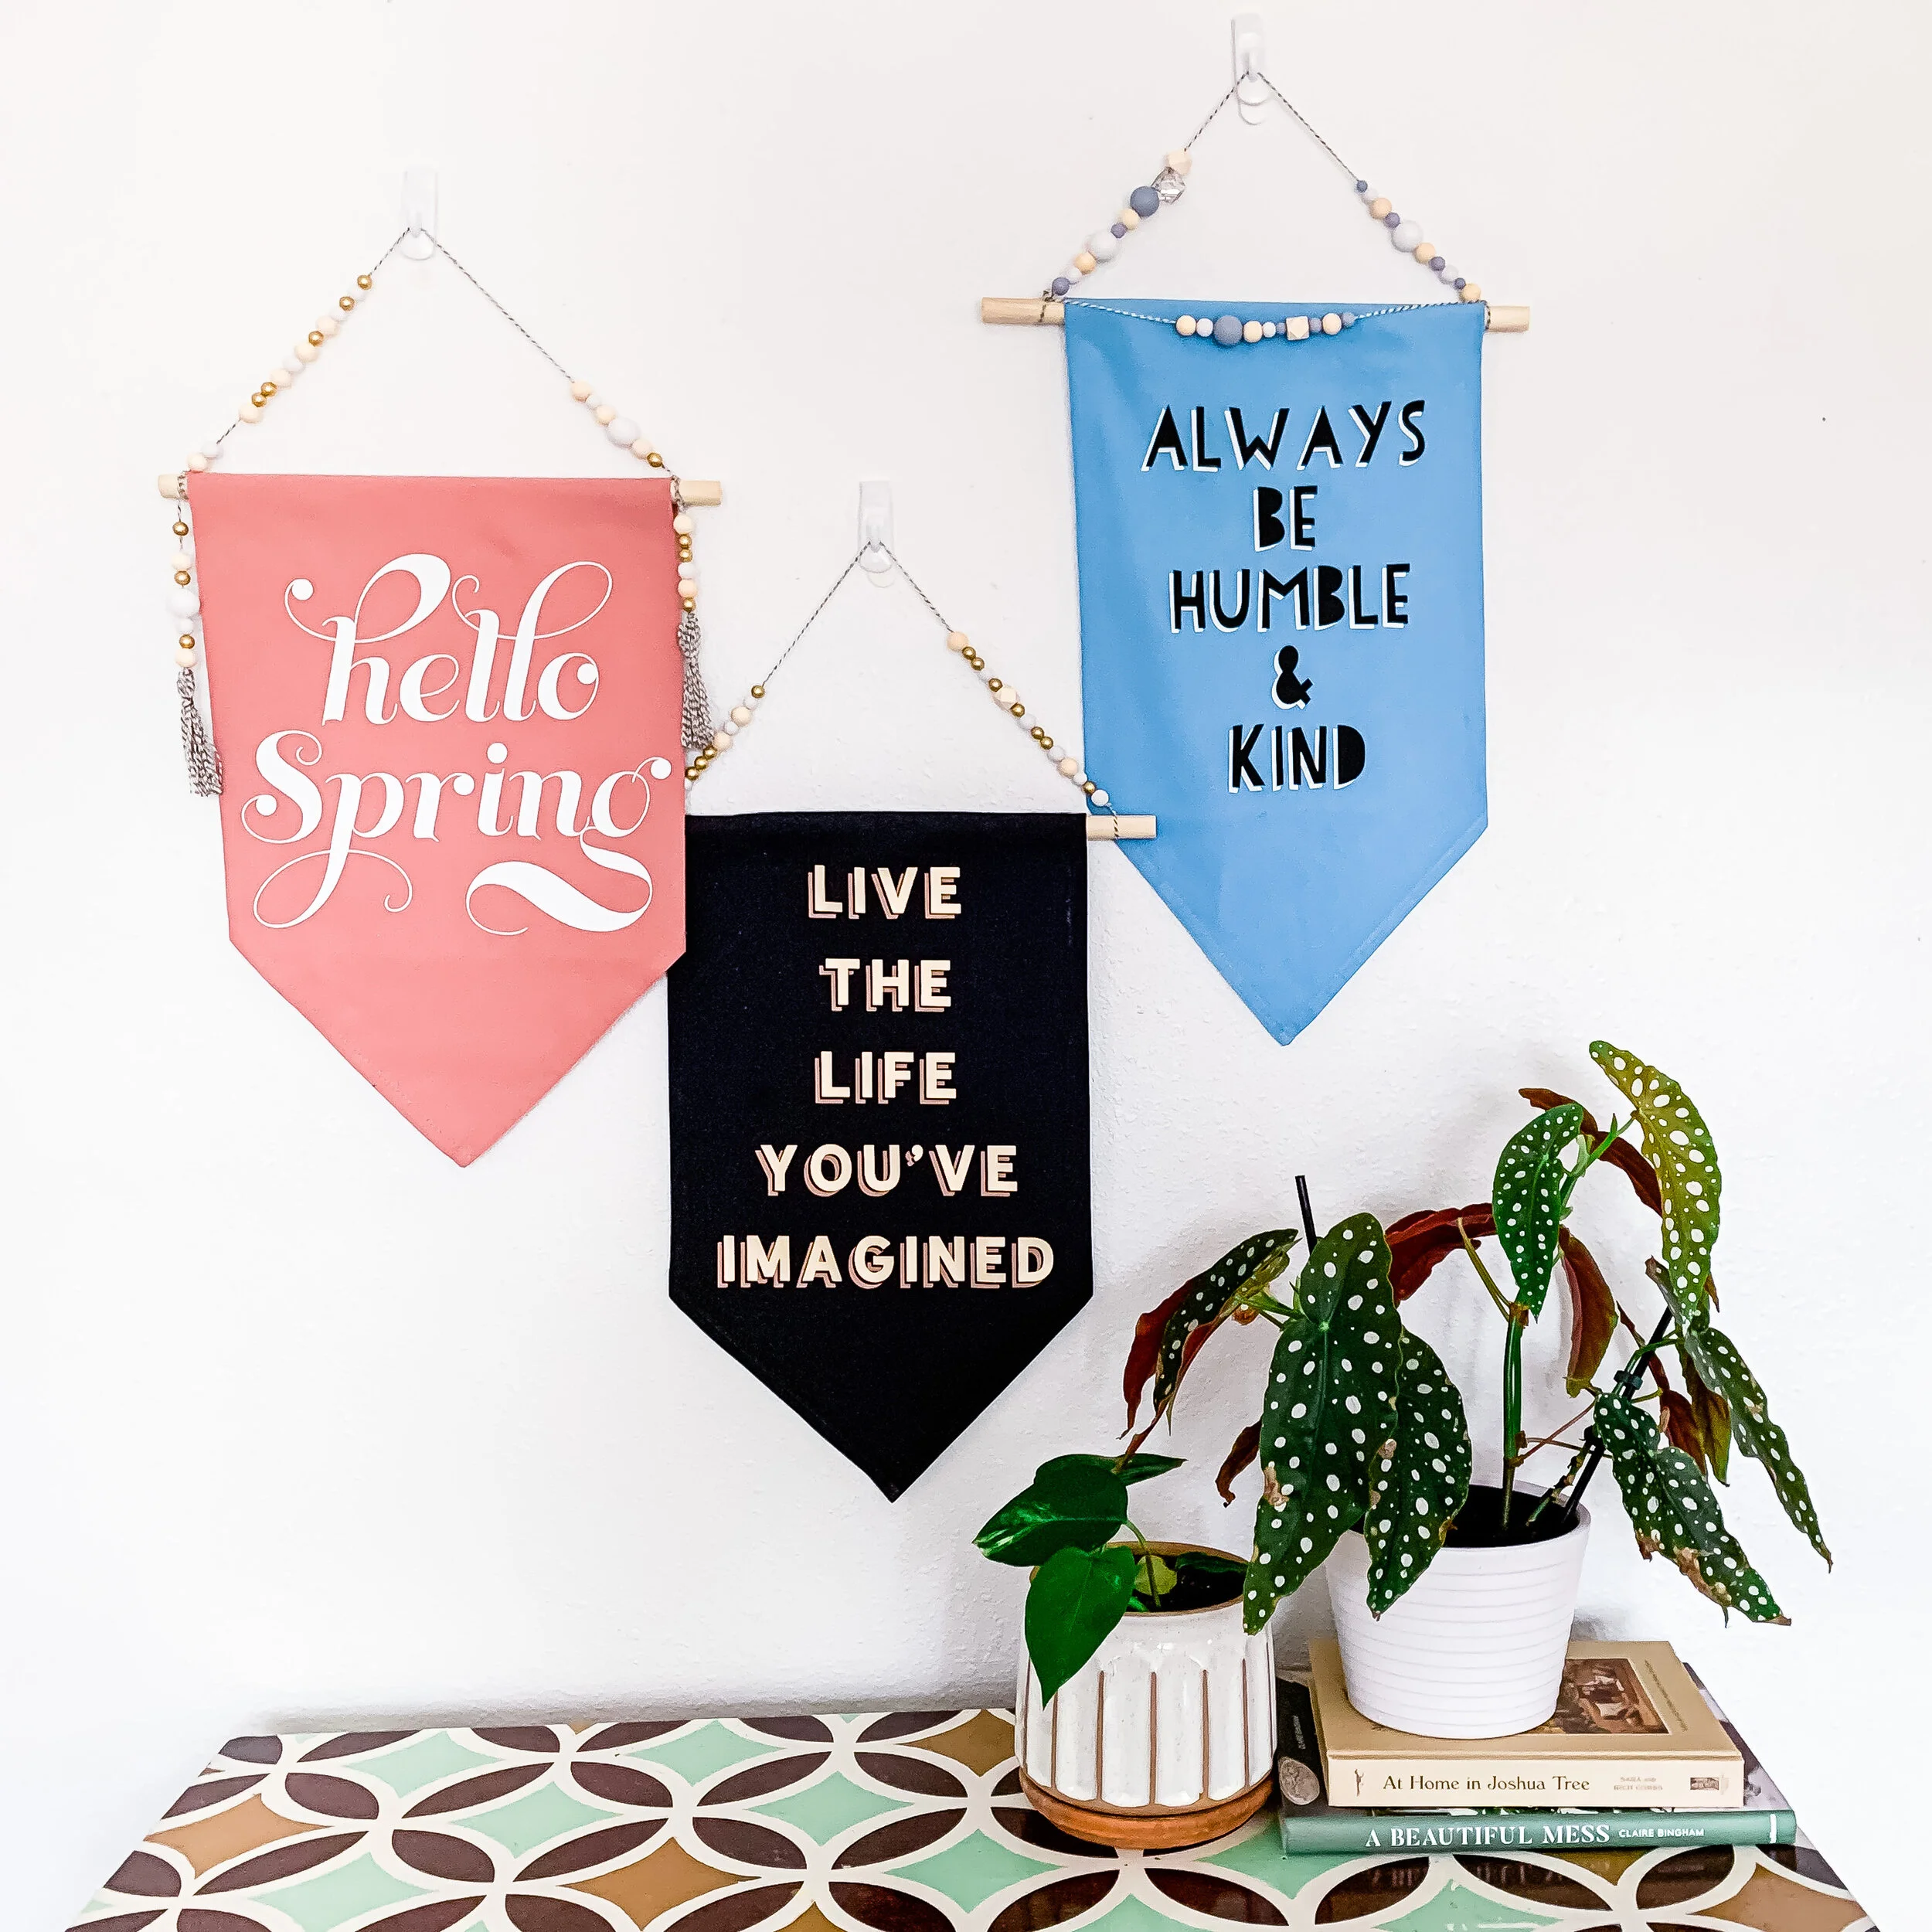
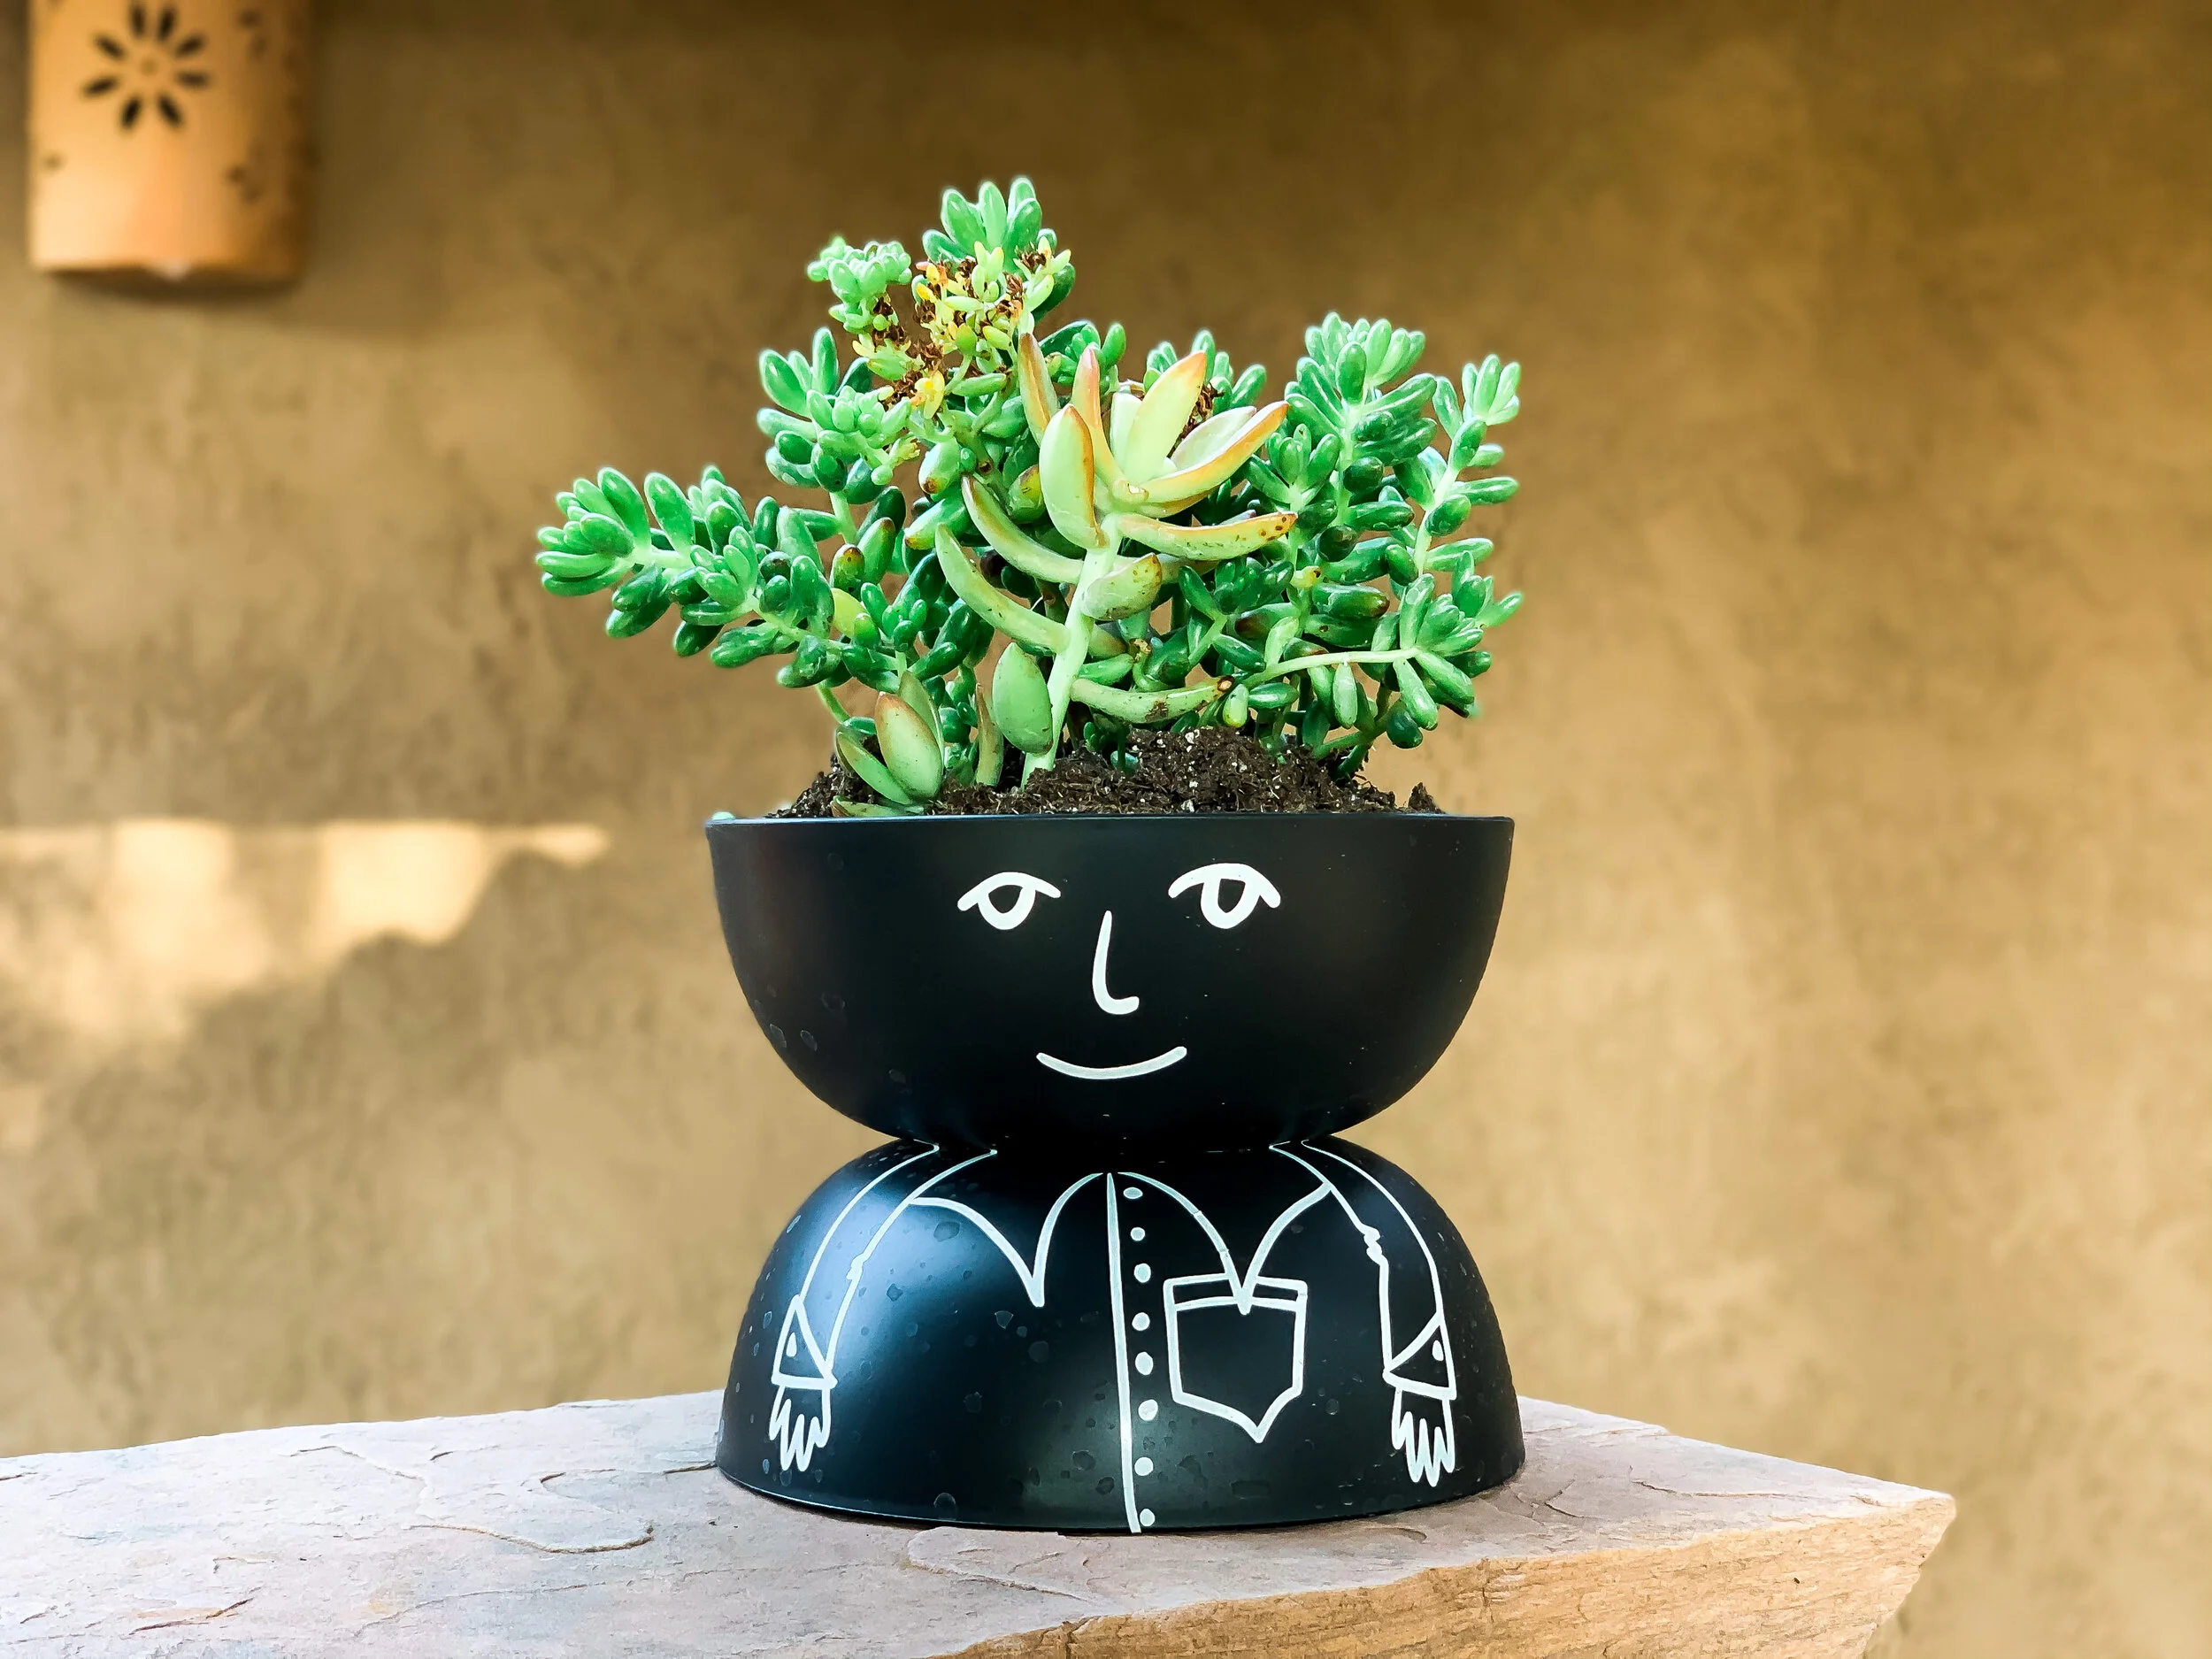
I ended up picking up some old linen napkins (you know, like your grandmother puts out at Christmas and Easter?) and making something I’m really quite proud of- these super cute NO SEW word banners.

I made these using my Cricut Air 2, Cricut iron-on, and Cricut Easy Press. If you’re a newbie to using Cricut iron-on, this would be a super fun project to start with.

The vintage linen napkins I snagged cost me a total of $3 at the thrift store. Mine were 19” square cloth napkins, but almost any scrap fabric would work for this- think tablecloths, placemats, etc. I think a pattern would make some really neat banners as well!
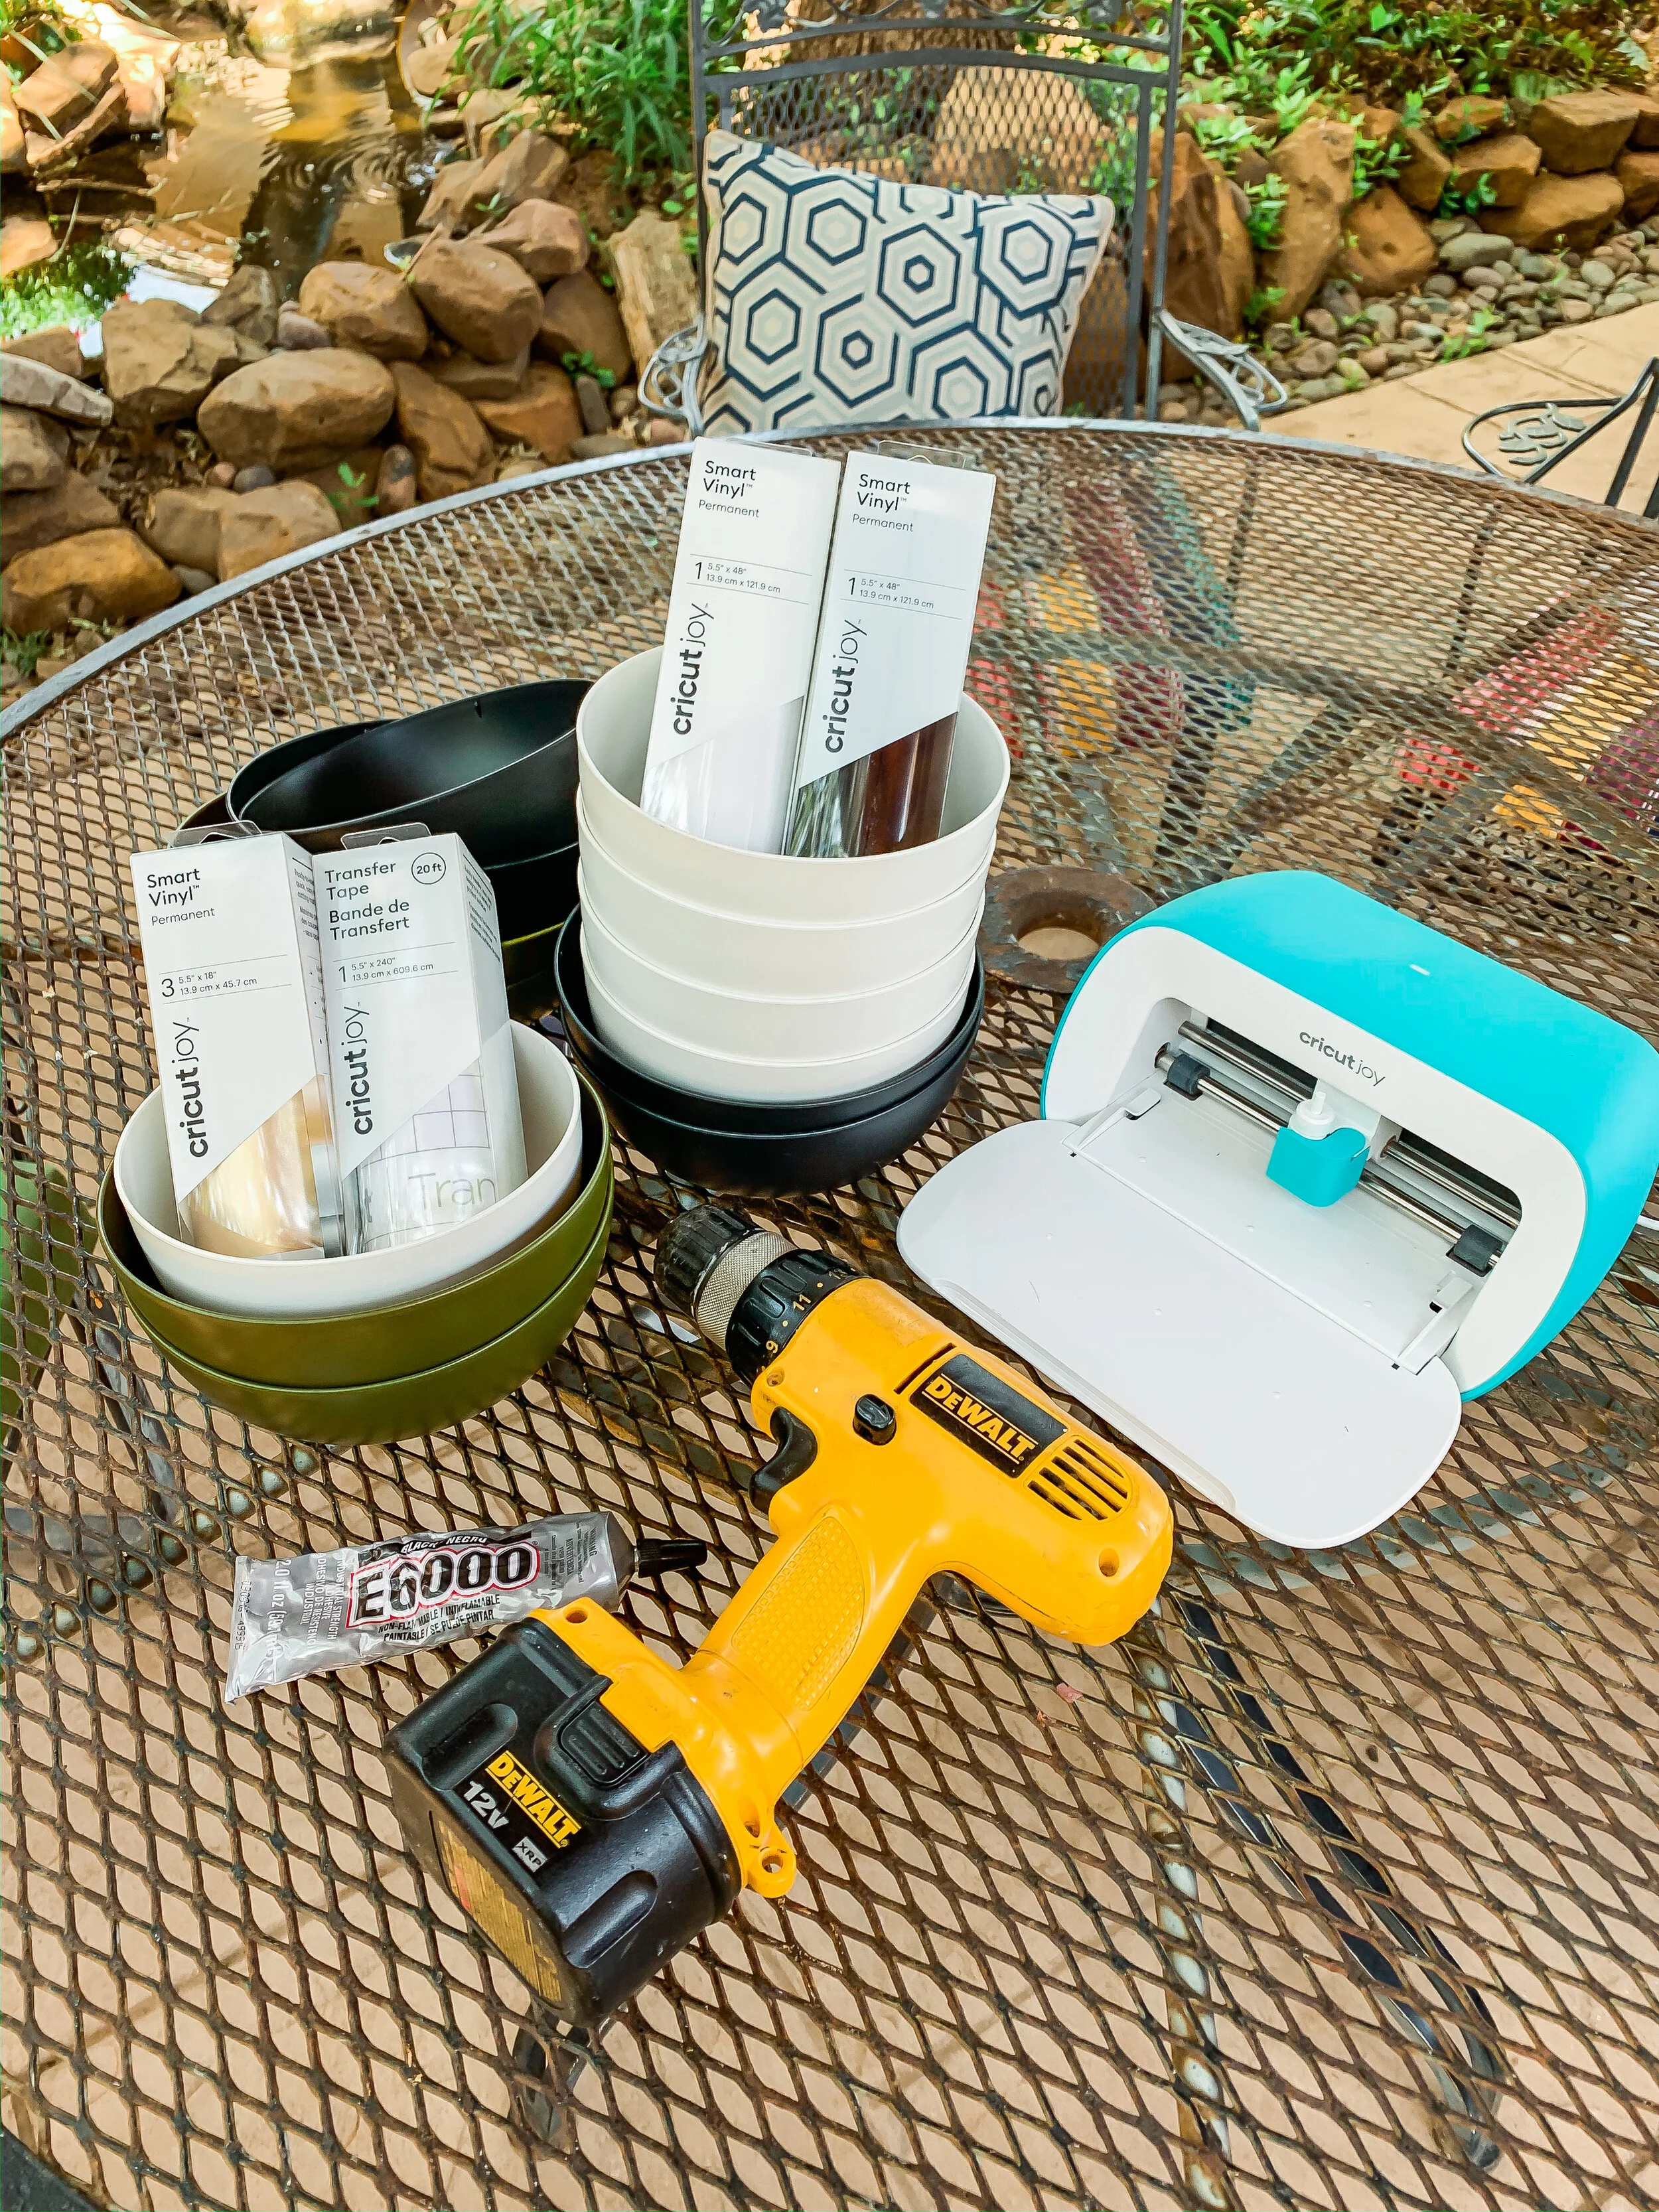
IMG_1343.JPG

Supplies Needed:

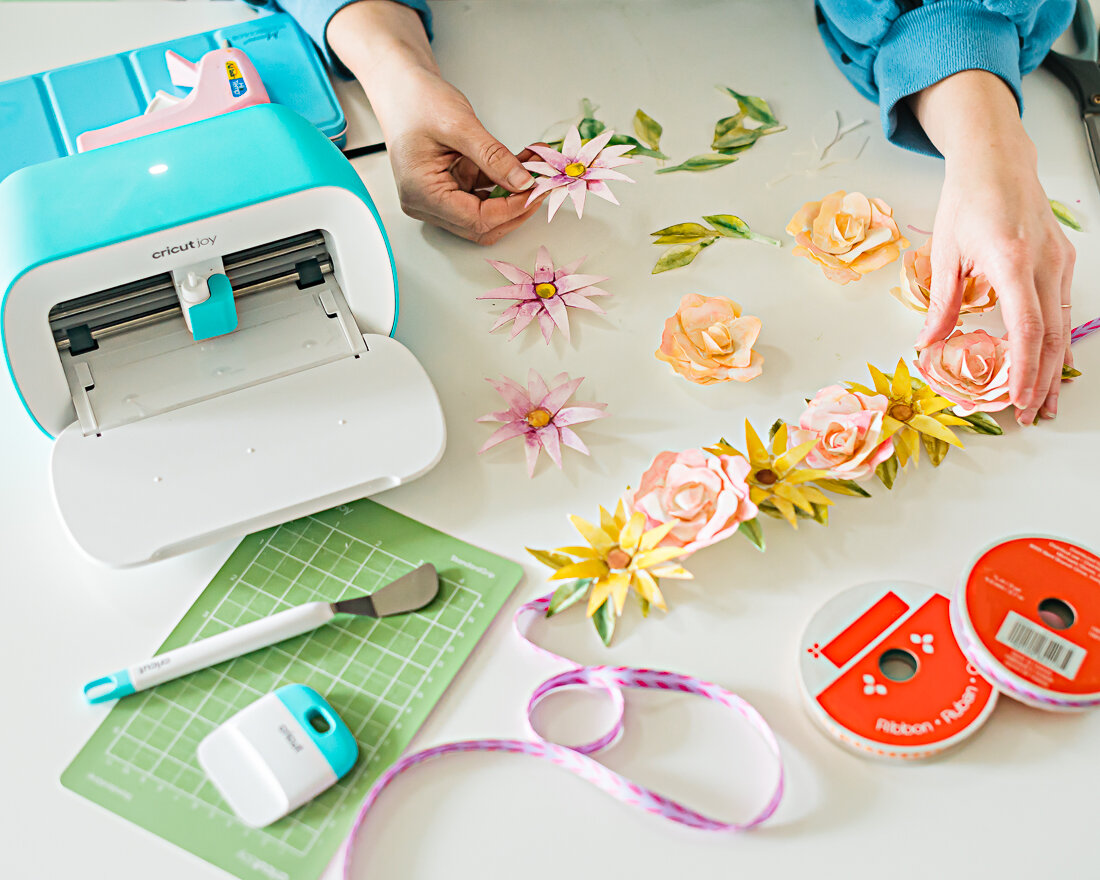
  • Cricut Machine- I used my Air 2, but depending on the size of your banner a Cricut Joy would work!

  • Cricut Light Grip mat

  • Cricut Easy Press

  • Cricut Easy Press Pad

  • Cricut Iron-on- I used white for “Hello Spring”, Beige for the shadow and Gold Shimmer for the main on “Life the Life”, and Black for the shadow and white for the main on “Always Be Humble & Kind”

  • Cricut Weeding tool

  • Old Linen Napkins or other fabric

  • Hot Glue Gun

  • Scissors

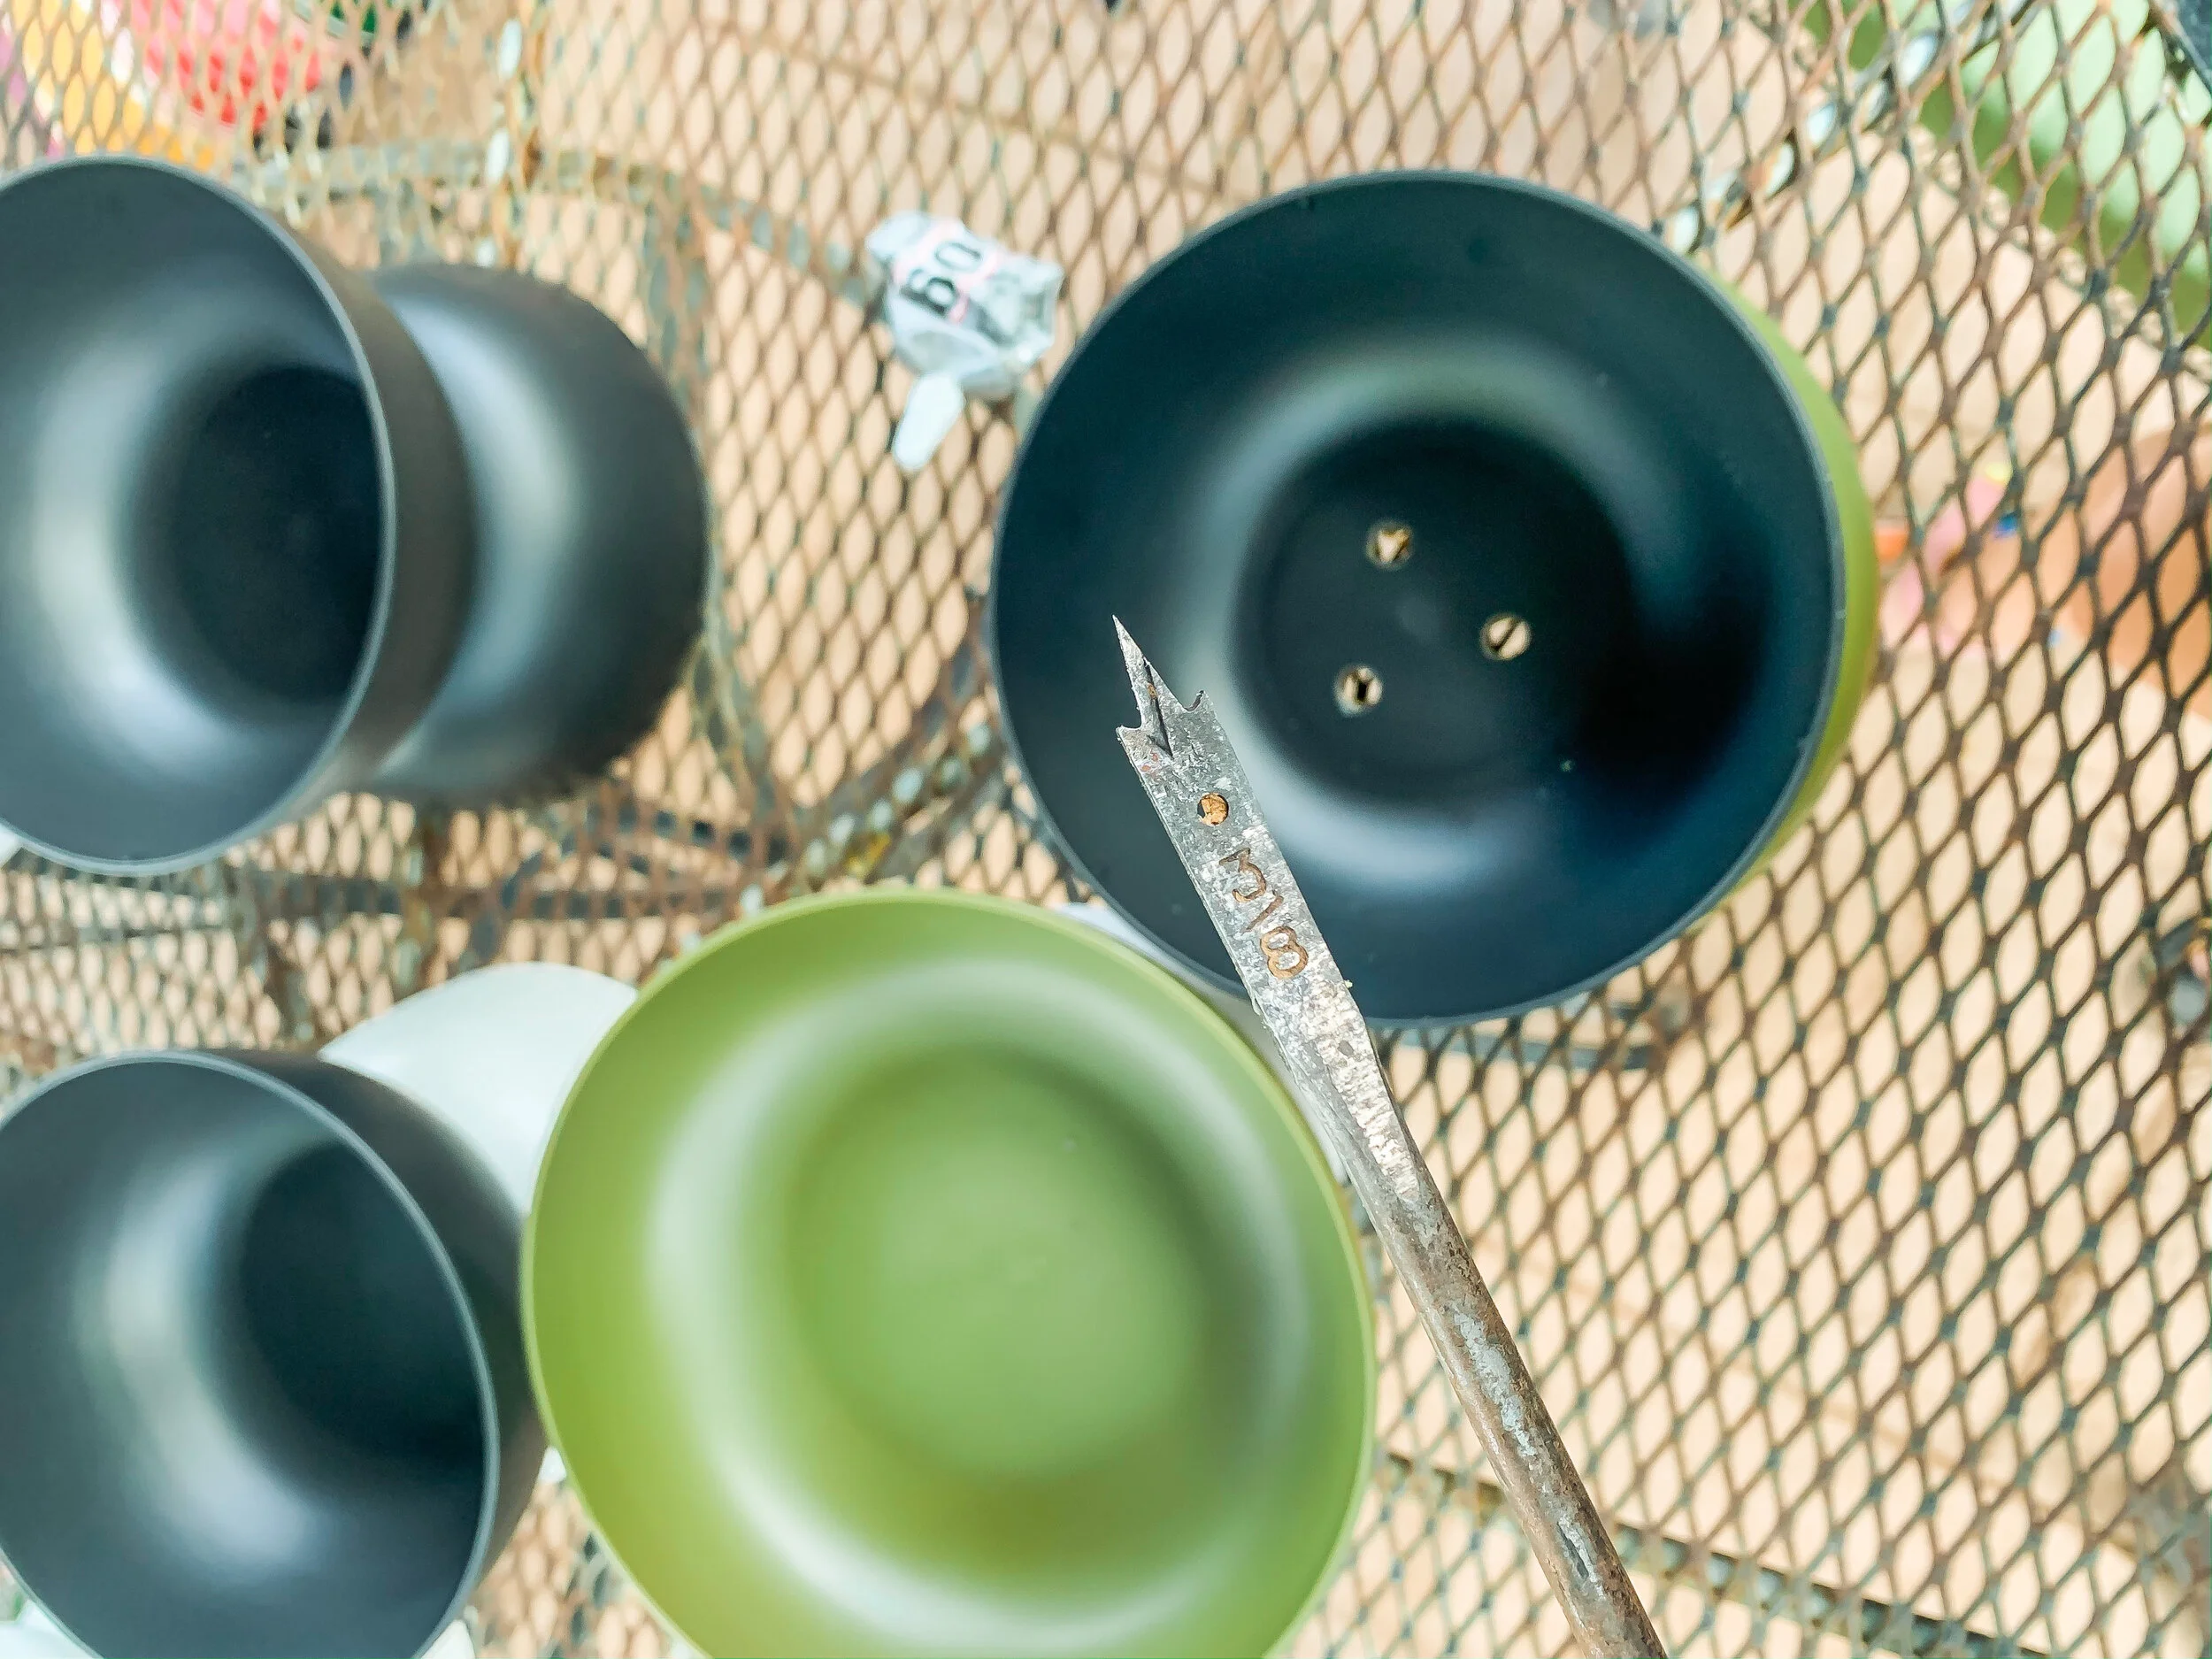
  • 5/8” Dowel Rod (or whatever suits the size of your banner)

  • Fabric De-fuzzer (obviously this is optional- but the napkins I bought needed it, and the iron-on wouldn’t have adhered well without a de-fuzz)

Check out this video for the full tutorial!

You can access my design files for FREE in the Cricut design space!

Always Be Humble & Kind Banner File

For this design, I used white Cricut Iron-On for the shadow and black for the main text. Click on the image to be taken to the file in design space!
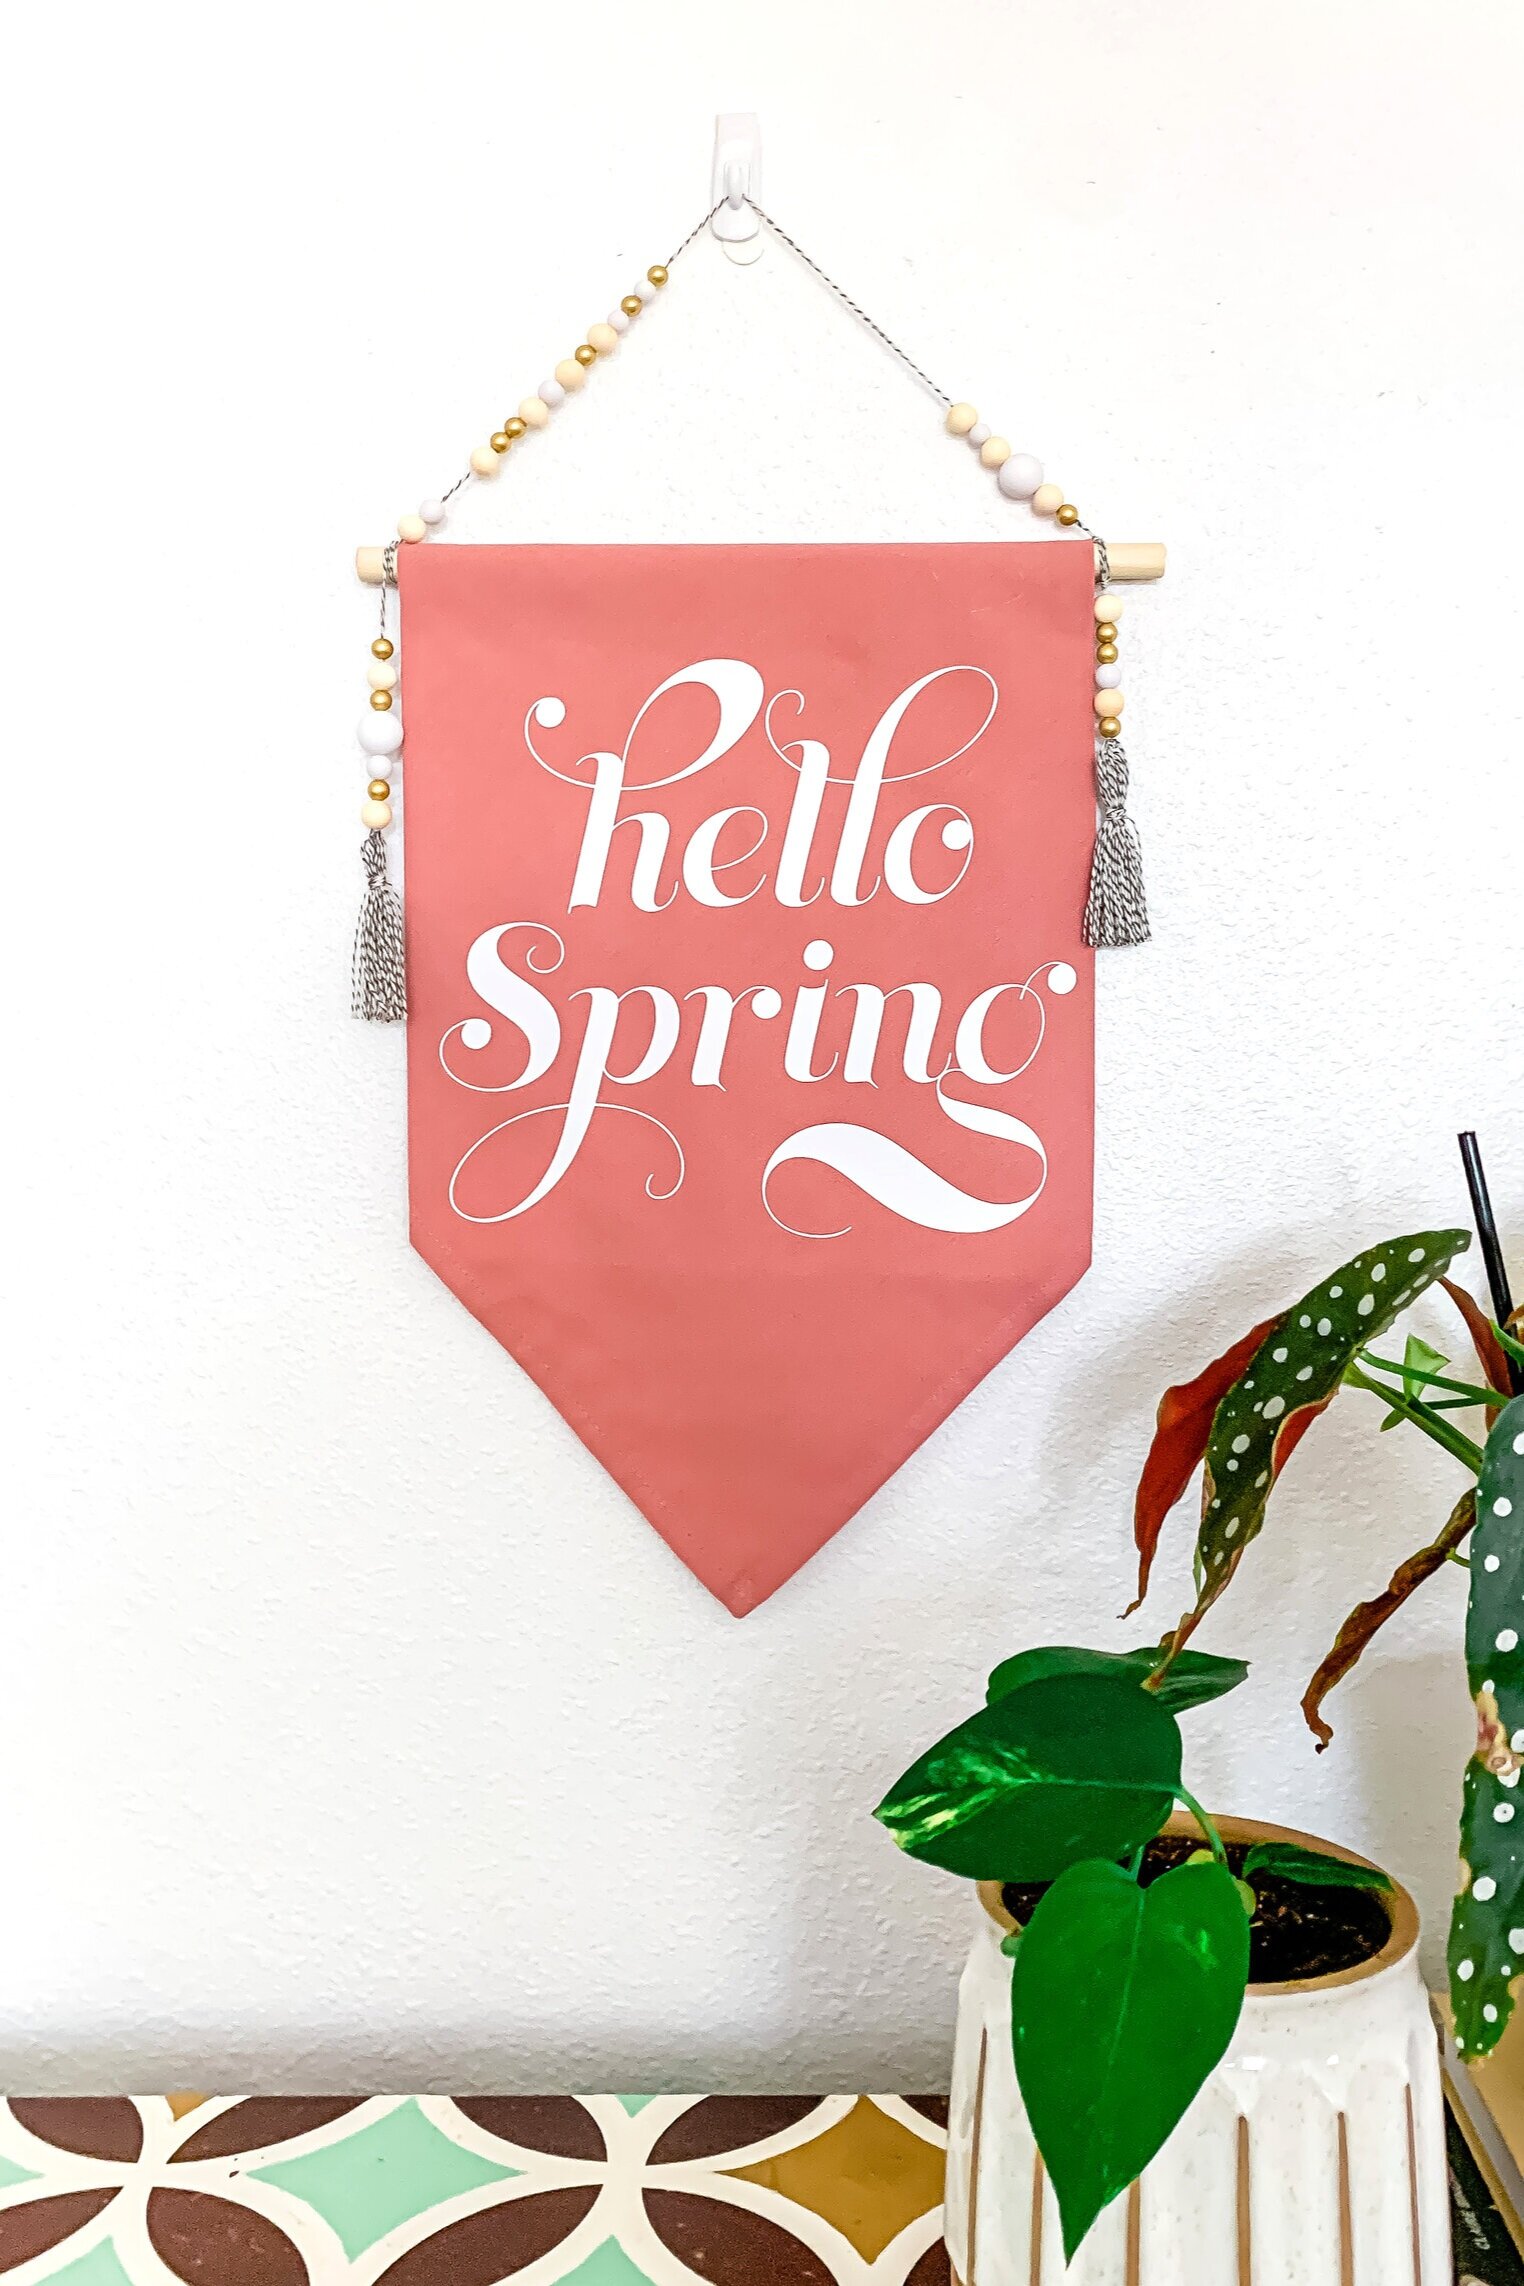
IMG_1365.jpg

Hello Spring Banner

For this design, I used white Cricut Iron-On for the text. Click on the image to be taken to the file in design space!

Live The Life You’ve Imagined Banner

For this design, I used beige Cricut Iron-On for the shadow, and shimmer gold for the main letters. Click on the image to be taken to the file in design space!

I would LOVE to see your banners if you give this project a try- please tag me @lissaanglin! It was a relatively quick one, and so much fun to add the beads and twine. You could really go crazy with the extra decor- I’m thinking tassels, felt balls, buttons, flowers…you name it!

IMG_1346.JPG
CricutWordBanners4.png


More Posts Like This:

Anglin Abode Reveal: Pantry Organization with my sidekick Cricut Joy

AnglinAbode, CRAFTS, DIYlissa-anglinComment

This post has been sponsored by Cricut, who has enabled me to create the custom pantry of my dreams!


I never would have guessed that one of the first “reveals” I’d share of our new home would be the pantry- but here we are! And it really makes sense- with a family of 5- I had no other choice than to attack the pantry and get it in order before chaos ensued. I ended up finding some really cool organizational items and creating some custom labels in a pinch with my Cricut Joy (tutorial below!).

Let’s take a quick second to remember the pantry (or lack thereof) that our house had when we first bought it:

320822ndSt-8861.jpg

See those white sliding doors to the left of the fridge? That was the “pantry”. It was nice and wide, but only about 6 inches deep. I’m not kidding- 6 INCHES deep. Basically pointless.

Thankfully, the room directly behind the pantry had a closet that wasn’t super necessary- so I chose to bust through the wall and create a larger pantry. I also wanted to add a bit of character with the new pantry door, so I found a great antique door at Jux Ta Posh (one of my favorite shops here in Lubbock!) and stripped it so you could see the original wood. It turned out to be quite a project and my Dad and Shawn even had to jump in- but I’m so pleased with the results!

E7436BBE-9DE0-45A1-BEBF-A51D8BEF70F6.jpg

Here’s how it turned out- quite different, right? I don’t typically keep the light on when the door’s closed. :)

DSC_2469.jpg

Anyway, because of all the new space, it was high time to get ORGANIZED. I was really thankful to have had time to think about how I wanted to place everything- what needed to be accessible for my kids, things I grab for cooking frequently, pain points from our last home’s pantry.

I ended up finding quite a few great products for the job- they have been total game-changers in keeping the area looking tidy- especially now that it’s somewhat visible.

DSC_2403.jpg

Here are a few things that were really helpful with organization:

Gold Wire Baskets - used here for baking supplies

Clear Plastic Canisters - for rice, beans, flour, sugar, etc.

Clear Tall-Sided Lazy Susans - I splurged for these tall-sided ones and am SO glad I did. Things don’t fall over/out of these and they are sturdy and spin well even with heavy glass bottles in them

Large Stacking Bins - for chips, cereal, anything large and bagged. I have LOVED these because they keep everything from falling over or on the floor. (These are out of stock at the time of this post 😫which breaks my heart because they are one of my favorite things! But, I’m linking some similar ones here.)

DSC_2409.jpg

I also wanted to make the most of the space at the bottom of the pantry- and was happy to find a couple of shelving units that fit perfectly, along with a stool that easily folds and tucks away right inside the door.

White Shelves - these are actually shoe racks but work perfectly for the bottom of the pantry!

Foldable Step Stool - I will probably be buying more of these, haha- we all use this constantly.


To create the labels for everything, I used my Cricut Joy and the mobile app. It was super simple and I filmed a short tutorial on how to do it below. One of my favorite things about the Joy is that it is so portable- so I literally set it up in my kitchen and cut everything straight from the app on my phone.

If you’ve never used the Cricut Mobile App before, don’t be intimidated- it is super intuitive and basically just like Design Space on the computer. Feel free to check out my tutorial below- but here are the basic steps:

Tools needed for this project:

Cricut Joy

Cricut Joy Design Space mobile app (free)

Weeder and Scraper

Joy Smart Vinyl - Permanent in the 2 colors of your choice

Cricut Transfer Tape

Scissors

IMG_9517.jpg
DSC_2397.jpg
  1. Measure the spaces where you’ll put your labels. My canisters had the smallest available label space at about 1x3 inches, so I decided to make all the labels that size.

  2. Create the black boxes using the shape tool. I made mine 1x3 inches, duplicated them, and cut them out on the Joy.

  3. Type out your words in Design Space and ensure they are all sized to fit within the boxes you’ve cut. I used Market Street Fonts- Eloise in all caps for this project. Cut them out on the Joy.

  4. Weed your words and use Cricut Transfer tape to place the words on the boxes. Labels are done!

  5. Stick your labels on your stuff. Done!

CricutLabelPantryPinterest1.png

This post contains affiliate links, on which I will receive a small commission should you purchase anything/sign up/subscribe etc. I would never share something I didn’t actually like or want to share with you, so I wanted to let you know. Sharing affiliate links affords me a few more lattes and it’s always my aim to add value to your life with the brands and products I share. Thanks for supporting me!

diy holiday gifts- foil name confetti ornaments with cricut joy

CRAFTSlissa-anglinComment

Are you team hodge-podge ornaments or team store-bought matching ornaments? Our tree is made up almost entirely of random, homemade ornaments going back to my childhood and I love that I get to relive those memories each year as we hang them on the tree. I’ve made my kids ornaments almost every year in hopes that one day they will have the same memories.

IMG_7545.jpg

I’m honored to partner with Cricut this year to make some custom ornaments for my kiddos! When I first saw Cricut’s Party Foil in all it’s shiny, glittery goodness, I knew I wanted to figure out a fun, new way to use it.

This is a quick, beginner-level project that will hopefully teach you a few tricks in Cricut Design Space.


This post is made in partnership with Cricut, a company I love and rave about on the regular! It also contains affiliate links to the products I mention here. These links help me keep creating fun things in this space, so when you click on one, it’s like a virtual high five- thank you!


IMG_7536.JPG


Supplies needed:

(These are affiliate links- when you use them to purchase, I receive a small commission, which helps me create more content for you!)

Cricut Joy

Cricut Joy Standard Grip Mat

Cricut Weeding Tools

Cricut Party Foil

Cricut Joy Smart Vinyl Shimmer (I used gold and silver)

Cricut Transfer Paper

Clear Ornaments

Confetti Mix (I used a combination of confetti from my local craft store)

Ribbon


Check out this video for the step-by-step tutorial:


If you create this project, I’d love for you to tag me @lissaanglin when you share it so I can see your beautiful creations!

 
Pinterest-min.gif

Quirky People Planters with Cricut Joy

CRAFTSlissa-anglin2 Comments

This is a sponsored post written by me on behalf of Cricut. All opinions are 100% mine.

DIY QUIRKY PEOPLE PLANTERS-2.png

This post is made in partnership with Cricut, a company I love and rave about on the regular! It also contains affiliate links to the products I mention here. These links help me keep creating fun things in this space, so when you click on one, it’s like a virtual high five- thank you!


I am a sucker for a quirky planter, and when my friend Emily shared some adorable planters that donned illustrated faces she got at Target, I rushed to the store to grab some. Upon arriving in the garden section, however, I realized that I was too late. Basically everything was on clearance, and it was slim pickens. 

So, what do I do? I’m in Target forgoodnesssake, I wander about the aisles looking for things I didn’t know I needed. :) And I came across this awesome display of plastic dinnerware. They had lots of fun colors- army green, navy, mint, rosy pink, rust red, black, and most of the pieces were .97. And I had an idea. 

15 minutes later, Target employees observed me stacking bowls of all shapes and sizes on their shelves. I’d found some white bowls that were a bit more expensive ($2), and was now incorporating them into my black and green collection. I’m sure they were annoyed and also wondering if I knew how a bowl worked.

My situation in the aisle at Target. There were so many options!

My situation in the aisle at Target. There were so many options!

So I bought several and took them home, with the intention of creating my own little people planters. Guys, this project was super fun and really made easy with my Cricut Joy. And I’m sharing my Cricut files for FREE if you’d like to make some yourself!

IMG_3227.JPG

What you’ll need:

Let’s get started!

First, you’ll need to decide the configuration of your planters- I did a combination of sizes and colors, but in the end, my personal faves were the symmetrical, same-colored ones. Let your imagination run wild!

IMG_3249.JPG

Next, glue your bowls together. There is no magic here- just literally put glue on the bottom of one of the bowls and press them together. The E6000 is great at gluing literally anything together, and is watertight, so it won’t be bothered by watering later. Just make sure you get enough on there to create a good seal without it spilling over. I left the bowls like this for about 24 hours just to ensure that the glue had dried completely before drilling.

IMG_3250.JPG

Next, drill some drainage holes in the bowls. You will want to use a spade bit, which has a sharper point in the middle that widens to create a larger hole. I used a 3/8 size here. If you’ve never used one of these before, don’t be intimidated! Make sure you have a sturdy surface and you are able to center yourself and the drill over the bowls. The more pliable the plastic, the easier it will be to drill through- but even if you have a harder plastic bowl, it should still work.

I ended up doing only 2 holes on the rest of the bowls because I felt like it was plenty of drainage.

Next, it’s time to cut your people illustrations! I created mine using the Procreate app on my iPad pro- but you could also create your own in the Cricut Design Space. If you’d like to recreate some of my quirky people, I’m linking them here for you- free!

My kids named all the characters so you can thank them for that. :) Click on any image below and it will take you to the appropriate file in Cricut Design Space.

Fred Cricut File

Quirky People Planter Cricut File

Jeff Cricut File

Quirky People Planter Cricut File

Curly Shirley

Cricut File

Quirky People Planter Cricut File

Captain Erica Cricut File

Quirky People Planter Cricut File

Bart Cricut File

Quirky People Planter Cricut File

Once you click on the file link you would like to create, you will need to size it to fit your pot. The face and shirt files are combined into the same file, but I applied them to the planter separately- even separating sleeves from buttons and collars, so that I could place them where I wanted.

Measure the height of the top bowl so that you can appropriately size your face to fit. I didn’t worry so much about the width of the face, since it can curve around the bowl. I used a sewing tape measure for this. Most of the face files ended up being around 3 inches in height. If it became too wide for the Joy (wider than 5 inches), I simply rotated it so that it fit within the size constraints of the Joy.

Do the same for the bottom of your planter with the shirt and sleeves portions. If they became too tall for the bowl, I just folded it over the edge or cut the vinyl to fit when I placed it.

As I mentioned before, the Cricut Joy makes this process really easy- especially if you are using Smart Vinyl. It’s already the perfect width for the Joy and doesn’t require a mat, so that’s one less step in the creation process!

IMG_3321.JPG
The Fred file cut and weeded. I separated the different parts- including each sleeve so that I could place them right where I wanted to.

The Fred file cut and weeded. I separated the different parts- including each sleeve so that I could place them right where I wanted to.

You can see how I placed them separately here- I always started at the bottom where the hands are and went up- if the vinyl was too long, I just cut it.

You can see how I placed them separately here- I always started at the bottom where the hands are and went up- if the vinyl was too long, I just cut it.

IMG_3328.JPG

A little tip on placing things on rounded edges: I found it helpful to cut some slits in the transfer tape so that the vinyl would not fold or bubble when placing it. I also used the Cricut spatula to get the vinyl pressed down in the seam of the bowls.

To keep it simple, I did one color of vinyl on each person, but you could easily mix it up! I used black on Fred, white on Curly Shirley and Bart, shimmer gold on Jeff, and the new holographic gold on Captain Erica (don’t you love the names my kids gave them?!)

Quirky people all done and ready for some plants!

Quirky people all done and ready for some plants!

Once you’re done, it’s time for some plants. I used mostly succulents and moss rose for the ladies. It was so much fun creating their “hair” plants. You will want to add a saucer underneath these to catch the water should you use them inside.

I hope you’ve enjoyed this tutorial- and would love to see your creations- tag me @lissaanglin on any social!

partofmeblog.com.png

custom marble sticker DIY

CRAFTS, DIYlissa-anglinComment
title.jpg

Anyone else a sucker for good packaging? I know I have purchased things solely because of the pretty package- and when it comes to the products I make and sell, I like to package them special, too.

I’m teaming up with a few other crafting + lifestyle bloggers to share a quick and easy little DIY I use for my business today- custom marble stickers! I use these stickers to package my creations and add a little extra love. They’re also perfect for packaging any type of gifts and I’ve made similar ones for baby and wedding showers, teacher gifts, etc.

Materials Needed:

IMG_1390.JPG
  • Cricut Cutting Machine- I am using my Cricut Joy, which is perfect for a small batch of stickers like this

  • Cricut Extra Fine Point Pen

  • Sticker Paper- here is the kind I love and use. I use the waterproof matte inkjet in the 8.5x11 size.

  • Watercolors & brush

  • Isopropyl Alcohol

  • Eyedropper (you can also use a paintbrush if you don’t have one)

Click HERE if you want to use my exact design file in the Cricut Design space!


That’s it! This project is a relaxing one- I love getting to do the actual marble paint on the stickers- it is a pretty foolproof method and using the alcohol to create the marble effect is a lot of fun. Then, I use the draw and cut features on my Cricut Joy to give them a professional look.

Check out my video below with the step-by-step guide.

So go out and make yourself some stickers! And please tag me @lissaanglin on any social sites so I can see your beautiful work!

Head over to these blogs to see what they have created and how they use Cricut for their blogs!

Kay @ Kay’s Daily Insight:

kaysdailyinsight.com

Instagram.com/kaysdailyinsight

Bria Snyder:

briasnyder.com

Instagram.com/Bria.snyder

Mama Llama Llama:

mamallamallama.com

Instagram.com/mamallama.llama

Emily @ Emily Plus Twins:

emilyplustwins.wordpress.com

www.instagram.com/emilyplustwins/


paper flower crown tutorial with cricut!

LIFESTYLE, CRAFTSlissa-anglin2 Comments
FlowerCrown-6424Thumbnail.jpg

The blooms in our flower bed are finally starting to appear after what feels like a very long winter- which means spring is here! The beautiful weather we’ve been experiencing has been such a beam of hope for me, as we’ve been quarantined in our home now for almost a month due to COVID-19. While I’m thankful we are healthy and home, our hands have needed something to keep us from going stir crazy!

FlowerCrown-6299-Edit.jpg

So when the new Cricut Joy arrived in the mail last week, I couldn’t wait to start making with it. I was able to check out this machine at Alt Summit last month, and you guys- it is the perfect little cutting tool!

Top Two reasons I love it:

  1. The smaller size of it makes it perfect to keep permanently on your desk. It connects to your computer via Bluetooth, so it also doesn’t use up another USB port nor does it need to be in a super close range to your computer- just close enough for Bluetooth to connect. :) It’s just cute. I love the design of it- the blue is cheerful and modern.

  2. It cuts and writes just like a larger Cricut, except it’s perfect for small jobs, like labels and cards. I know I’ve thought twice about pulling out my machine just to make a couple small labels. With the Joy, it’s already on my desktop and it’s quick and accessible. LOVE THAT convenience.

    You can check out the Cricut Joy here- they’ve put together some bundles that are perfect for label and card making!

FlowerCrown-6364-Edit.jpg

Now let’s make some flower crowns!

These are perfect for your littles, or even yourself! Of course, the flowers used in this tutorial can be made into anything you can dream up.

FlowerCrown-6311-Edit.jpg

Paper Flower Crowns

The materials needed for this project are pretty simple, and if you have a Cricut Cutting machine, you’ll likely have everything else you need in your craft closet as well.

The watercolor and watercolor paper is totally optional in this tutorial- you can easily use some of the pretty patterned paper the Cricut makes and avoid painting. I love watercolor, though- and the method I use here to paint is beginner-friendly, so don’t be intimidated!

Materials:

IMG_3095.jpg

Links to my flower files in the Cricut Design Space:

3D Daisy and Leaves

3D Peony

Check out my tutorial below!

I’d love to see your flower crowns, or any other projects you create with my flower files! Be sure to tag me @lissaanglin on any social platform so I can ooh and aah over your creations.